
Journal
StarFlower 5 Stitch Update

I’m at a particularly happy stage with my current Paint • Stitch • Bead adventure, so I thought I would pause and give you a StarFlower 5 stitch update.
Start with Paintstiks
My normal working order is to create Renegade Stencils using the Silhouette Studio software and then cut the stencil(s) from vinyl with a Silhouette cutting machine. Although there is a learning curve involved, the software and machine save me tons and tons of time.
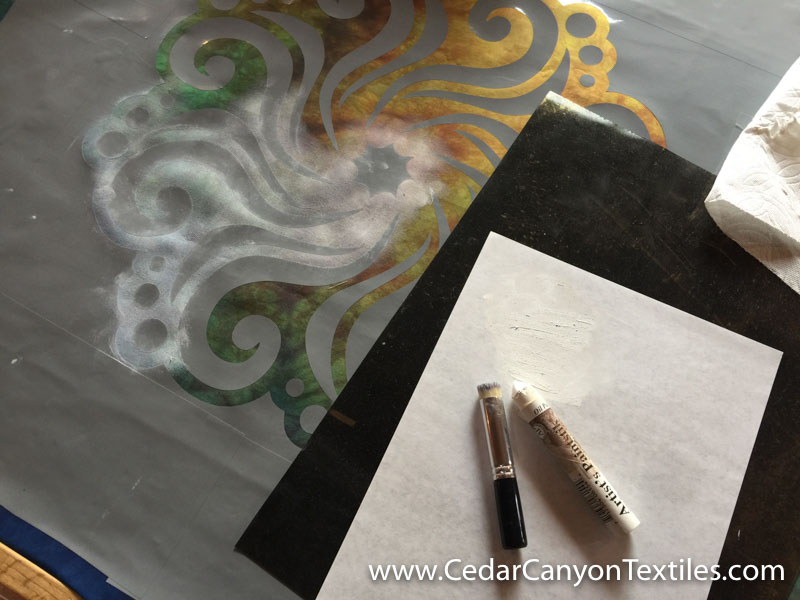
I almost always start painting with a base layer of Titanium White paintstik color. It acts like a stain killer primer on walls, and allows me to get an opaque image with the Iridescent Paintstik colors. (You can see another example in this post.)
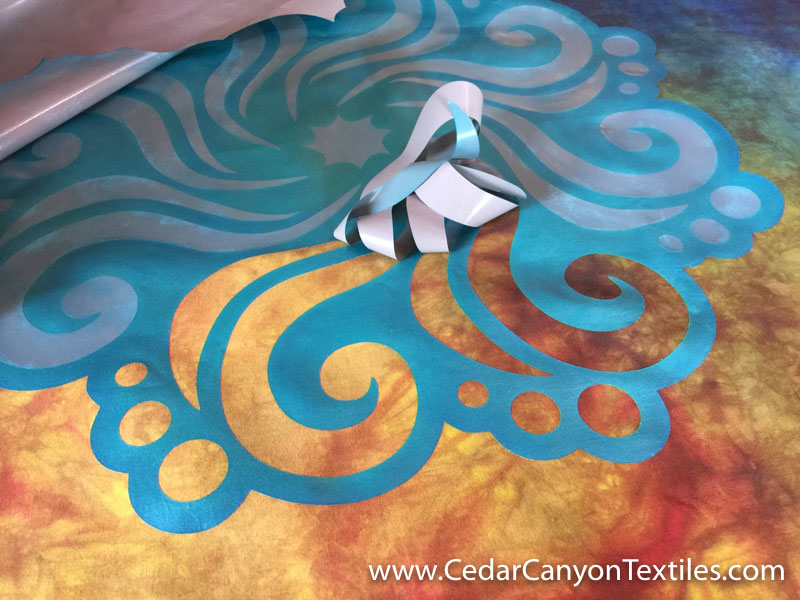
Once the final coat of paint is dry, I simply peel up the Renegade Stencil (sticky-back vinyl) and reveal a super clean painted image.
Add Stitching
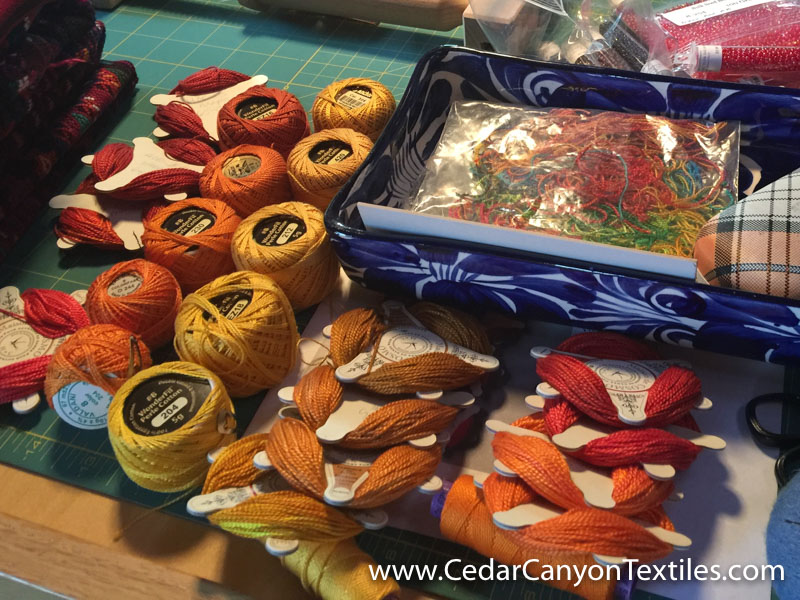
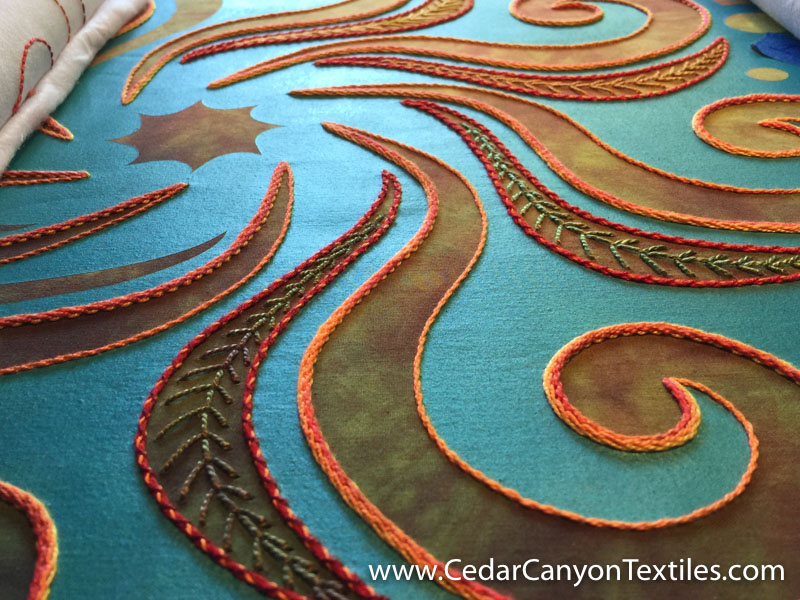
Given the strong light-to dark gradation on the background fabric, I decided to work with graduated colors of thread. (It sounded brilliant at the time, but that decision created a lot of work! Keeping track of which color belonged on which shape was a wee bit challenging at times.)
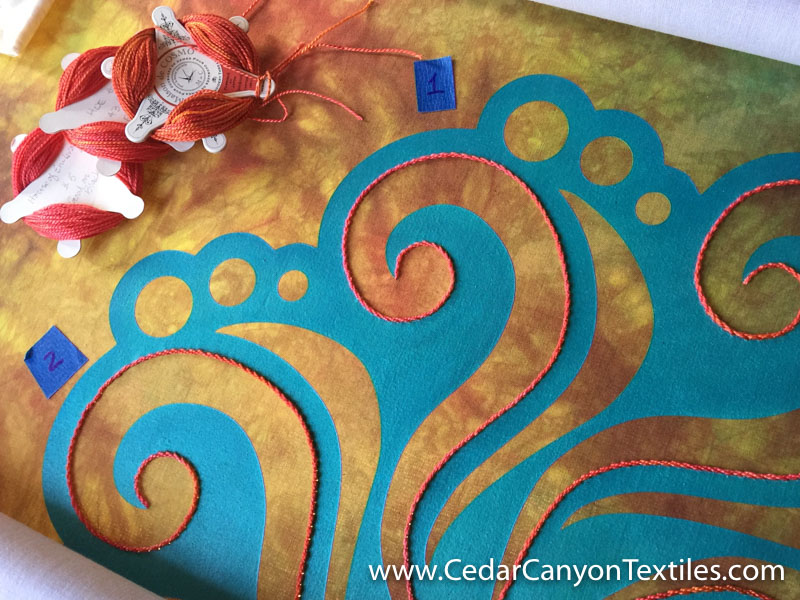
I use a lot of simple stitches in my work, like the stem stitch along the outer edges of my “question mark” shape.

I like my stitches to stand up off the surface of my work, so I often wrap the base stitches with one or two additional layers of thread. Yes, this means that I work over the same line of stitches more than once. Yes, it takes more time. But the effect is quite beautiful – and worth the extra effort.
Once most of the stitching is complete, I often find myself in “git ‘er done” mode. I know that I crammed a whole lot of stitching into the last several weeks!
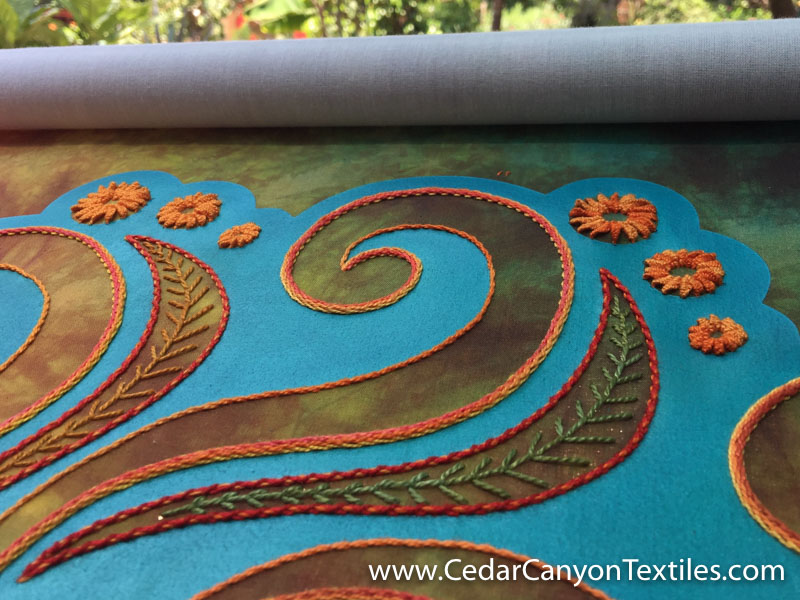
The circles at the outer edge were calling for something fun. I looked through my previous StarFlower pieces, but didn’t see anything inspiring. I had to go all the way back to 2015 – to my Bailando en la Noche triptych to find a good idea.
Rather than starting exactly in the middle of the circles, I decided to leave a bit of space in the center of the cast-on stitches. You never know… I might find just the right thing for the center when I get to the bead work!
The stitching never feels complete until I finish the outer edge. Sunday was a lovely day to stitch outside on the patio, and the afternoon sun made for some good photos.
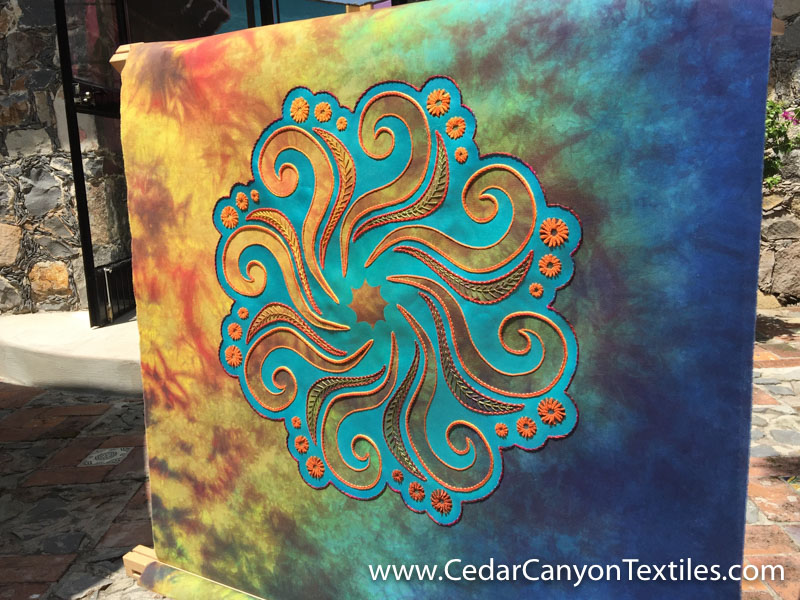
I’m not quite done, but I’m close! The center shape needs some type of outline stitching, but I’m a pretty happy camper. It will be great fun to add some nice shiny beads to the latest member of my StarFlower family.
Learn more
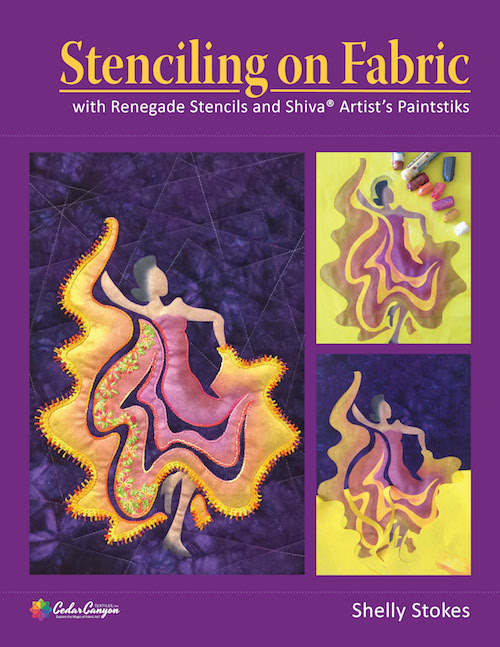
If you want to know more, you can learn exactly how I stencil images on fabric with sticky-backed vinyl stencils. I call them Renegade Stencils because they allow you to break the rules!
Every last detail is spelled out for you in the Stenciling on Fabric eBook. To be clear, I use a computer-driven Silhouette cutting machine to make the vinyl stencils, but the same techniques can be used with hand-cut freezer-paper stencils.
Thanks for reading
Thanks for reading my StarFlower 5 Stitch Update. Your attention is the greatest gift you can give to a writer. I appreciate the invitation to be a small part of your creative world.
To join the conversation, leave a comment below.
This is really amazing work. I’m curious about the blue background. In the first photo, I thought it was your stencil. In later photos, I realize that it is part of the design. Do you use multiple stencils? One for background and one for the design? And do you have any publications that provide more instruction for this type of work?
I have been a fan for years, and enjoy seeing your creativity!
Hi Louise, I’ll see if I can answer your questions.
The background fabric is a graduated-color hand dyed fabric. So it changes from one side to the other. The turquoise design was added with Paintstik, with a technique I call Extreme Stenciling. If you search the blog using that term, you’ll find several articles.
The best description of how I work is in the Stenciling on Fabric eBook.
Your timing couldn’t be better. I am working on some embroidered blocks as part of a quilt. I am having fits over one design. The stem stitch just doesn’t “do it;” but, it is the best stitch for the motif. Wrapping!! Will do!! And, just for kicks, that wonderful stitch you used to emphasize the thin leaves. Thank you for the inspiration. Glad all is well with you. My good friends are hunkering down in their Mexico City apartment and won’t get to the Compeche beach house until late fall. Hoping to join them. I have missed being in Mexico and on the beach.
You are so welcome, Marlene. I have learned more about whipped, laces and all manner of stitch variations the last couple of years. (The bolder the better for my stitched paintings!) It’s really a matter of experimenting, but the possibilities are endless. 🙂
This new piece is absolutely stunning!
Gracias, Dorothy! It’s always good to hear from someone in Minnesota!
Hi, Shelly –
Love this StarFlower piece you are working on. I have a question: You said, “I like my stitches to stand up off the surface of my work, so I often wrap the base stitches with one or two additional layers of thread.” Those extra layers: Are they worked in the same base stitch as the work they are going over? or do you actually wrap thread around each stitch? If the later, do you have a photo or video showing how you do that?
Thanks, Shelly.
Good questions, Trudi. This type of stitching will be part of the Paint • Stitch • Bead program when I get it up and running.
I’ve done a lot of experimenting with whipped stitches, laced stitches, Pekinese-stitch style wrapping of other stitches, and so on. There is a category on the Blog called Hand Stitching and Embroidery that you may find helpful.
Looks awesome 👏🏼 ? What is your finished size?
The painted images on my StarFlower pieces are from 18-20 inches across. They are large enough that I have to make 2-part stencils — my machine will only cut vinyl up to 12″ wide and I’m NOT going to buy a bigger cutting machine! My plan is to stretch them over canvases that are 24″ square.
The sunflower is gorgeous against the hand dyed background. I especially like the dramatic visual illustration of how the background color can be completely altered using paintstik techniques.
I know you have the technical capability to resolve software hitches; hang in there and this to shall pass!
Thanks, Laura. I absolutely love the hand-dyed fabrics I use for backgrounds. I did one piece on a solid color linen and never did fall in love with it. It will be a sad day when I run through my stash of Transitions fabric!
Shelly, thanks for sharing your beautiful work! I’m going to add wrapping a stitch to my stitching as you have done here in this piece. I love the added dimension of the stitch! The dyed fabric is a wonderful choice for this piece. I’m sure adding beadwork will be a fabulous addition.
Thank you, Anna Mae. There are times when I wonder if I’ve gone off the deep end on the stitching, but I really do love the effect. And beads are a bonus.
This is fantastic. I love it. Your design is wonderful and your stitching spectacular! Congrats on a job almost done.
Gracias, Rebecca. There is still a good amount of work to do, but I love this breakpoint in the process.The colors and texture make my heart happy, and that’s a welcome feeling in today’s world.
Gorgeous work and so life-enhancing to see! Do you stitch on a large, stretched frame? I think I see that in one of the photos, but I’m not certain.
Thanks, Avril.
Yes, I stretch my embroideries on a frame. It took a bit of practice to go from hand-held embroidery to using a frame, but I find it easier to get consistent results — and it’s a lot easier on my hands.