
Journal
Yes! You can Reuse a Vinyl Stencil!

A good question has come up several times over in the Paint•Stitch•Bead classroom. Is it possible to reuse a vinyl stencil? My knee-jerk reaction to this question is to say “nope — vinyl makes for a one-and-done stencil.” But is that true? Is it truly not possible to reuse a vinyl stencil?
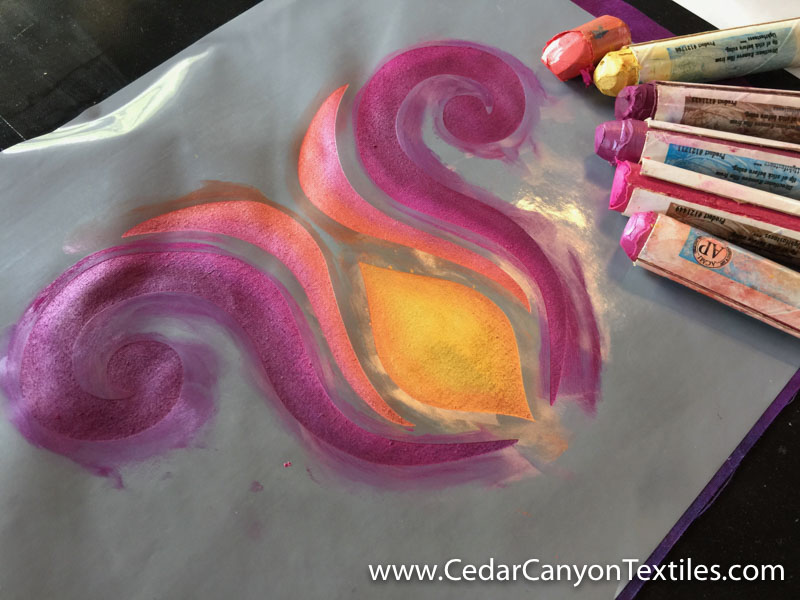
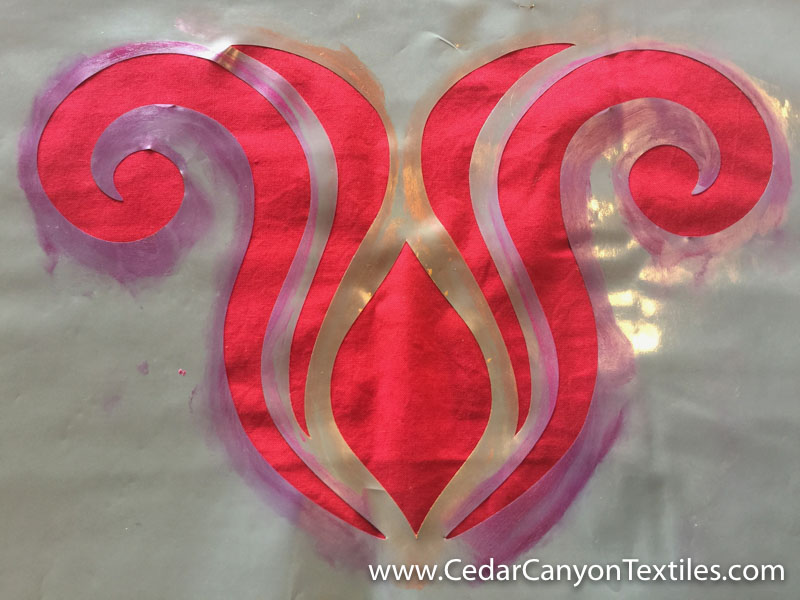
I painted this little design recently — twice. (My photo sequence for the first run was sorely lacking, so I painted it again.) But before I peeled the vinyl stencil off the fabric, the question about reuse popped into my mind. I thought, hmmm… here’s a good test. Let’s see if it works!
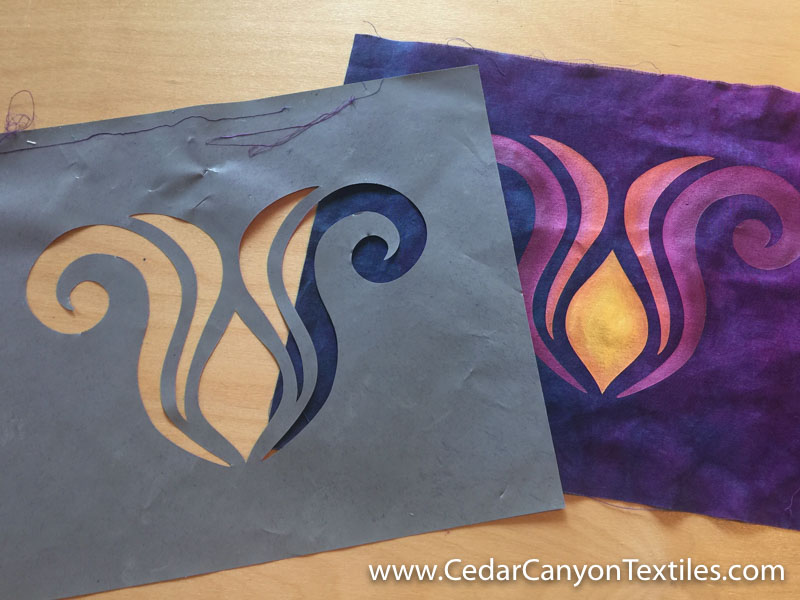
Now this is a reasonably simple design. I was able to remove the stencils without tearing anything up too badly.
But a closer look shows that it has a few small wrinkles and some stretch marks. Especially around the curves.
Plan A
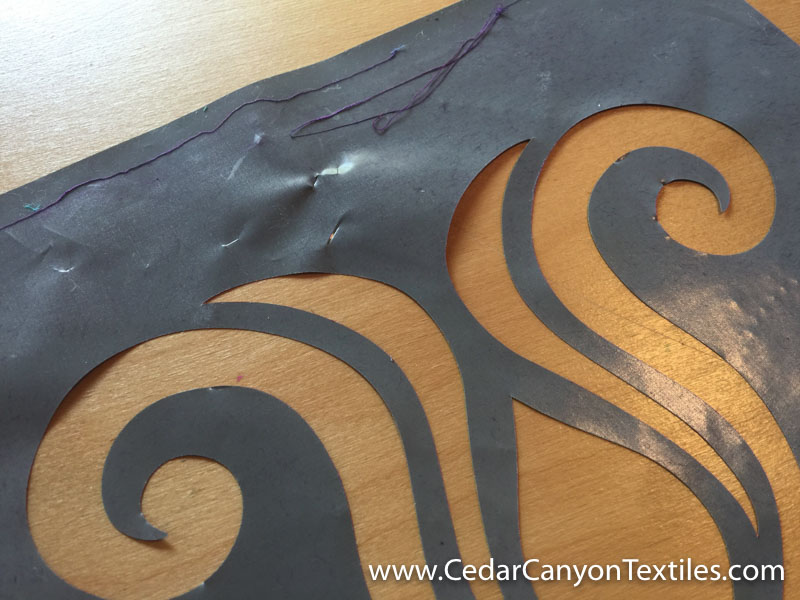
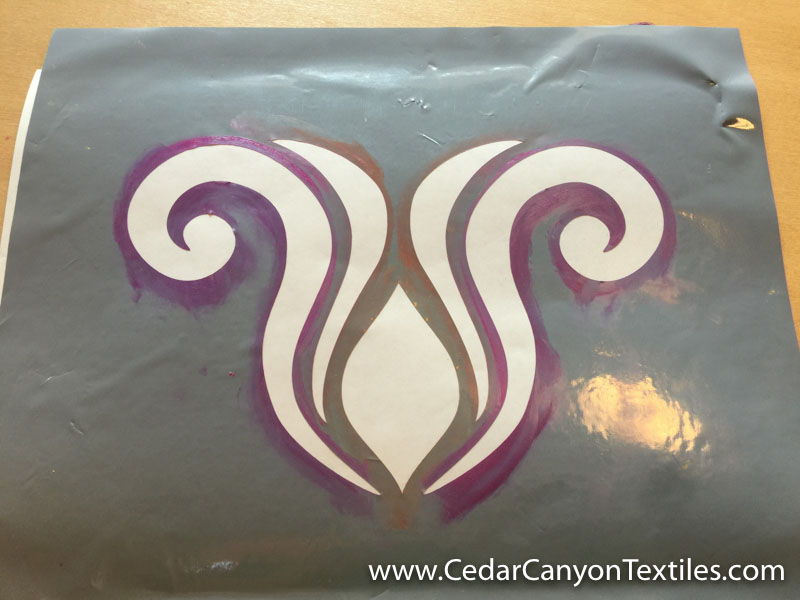
My first thought was to lay the stencil directly on another piece of fabric. But this was not nearly as easy as it sounds. This is permanent vinyl — as in Very Sticky Stuff. It is NOT easy to place very flimsy sticky stuff where you want it!
After much fussing, I got close. But as you can see in the top left corner, the stencil still is not flat on the fabric. Okay. Time for Plan B.
Plan B
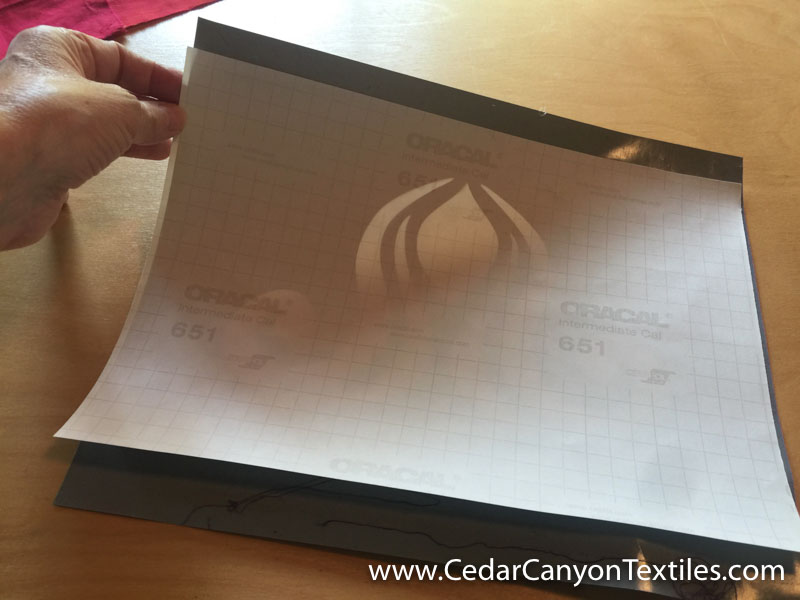
At this point, I figured I needed to go backward. I put the stencil on my work table, sticky side up. I took a sheet of backing paper (that I saved from a previous stencil) and carefully placed it on the vinyl. The vinyl started on backing, so I figured this was safe.
When I turned it stencil side up, I knew I was on to something. There are definitely stretch marks from pulling the vinyl off the first fabric, but it was still in reasonably good shape.

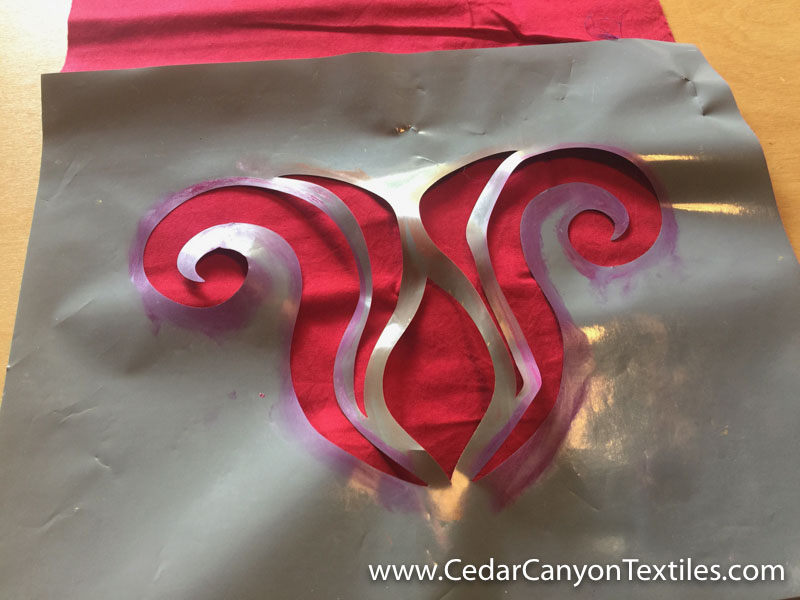
Now that I was back to ground zero, I needed yet another piece of sticky stuff to solve this problem. I placed a piece of (sticky) transfer tape on my work table, sticky side up. Then I carefully placed the stencil on the tape.

After smoothing the tape over the stencil, I peeled off the backing paper.
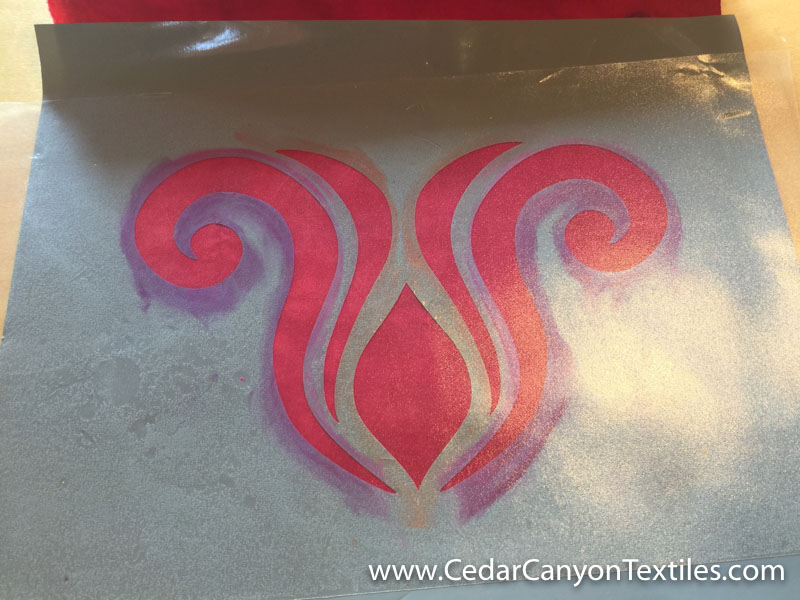
Ta-da! I now have a flat vinyl stencil, ready to be transferred to the next piece of fabric. Yes! You really can reuse vinyl stencils!
If you want to see how transfer tape is used, you can click over to a couple of blog posts here and here.
Now I will be the first to say that this is NOT going to work with every vinyl stencil. I can’t imagine peeling my large vinyl stencils successfully. It would also be very difficult to reuse stencils with very small bridges. They are simply too delicate to lift off the fabric without tearing or distorting them beyond future use.
But, for fairly simple stencils, it’s nice to know it can be done. Peel carefully. Reverse the original process by putting the backing paper back onto the stencil. Then you are set to Reuse a Vinyl Stencil (at least) one more time!
Thanks for reading
Thanks for reading. Your attention is the greatest gift you can give to a writer. I appreciate the invitation to be a small part of your creative world and hope you enjoyed this peek at a day in my studio.
If you’d like to join the conversation, leave a comment below.
YES!!! This is awesome! Clipping the fabric down tight all along the edges of my sandpaper board also helps to remove it with limited stretching and ripping! I hadn’t figured out what to do after that though so thank you!
You’re so welcome, Jenni-Hope. Thanks for asking the question. I think all too often we “think” we know the answer, so we just do the same thing over and over. This won’t work for all stencils, but that’s no reason not to save and reuse where possible. Have fun!
Will you post more pictures of your studio? I’m planning a move to Idaho and want to revamp my studio…it just doesn’t work now…I feel like I have to tear everything apart to find anything… I haven’t come up to a perfect workspace for my sewing machines, fabrics, threads, beads, dyes, paints etc., etc….
Sure, Barb. In another post I’ll show you around the studio.
I don’t think there is such a thing as the “perfect” workspace. Maybe if you can build from scratch. But there are definitely ways to make a space more useable.
Hi Shelly,
I love your stitching corner with all that natural light. Do you think you could do a video some time showing how you stitch using that frame.? I can’t get my head around stitching over the front roll bar (for lack of a better name). Do your arms sort of rest on it?
Thanks for your note, Peggy. I’ll add this to my video list.
I use a Millennium frame from Needle Needs in the UK. (https://needleneeds.co.uk/store/). There is a video on the home page of their site that shows how to put the fabric in the frame.
You can roll the fabric two different ways. I simply got used to stitching in this configuration, so this is what I do.