
Journal
Beautiful Beaded Stitches for StarFlower 6

I put the last of the beaded stitches on StarFlower 6 a few days ago, just in time for a visit from a photographer. One of the beaded stitches is an old favorite, but the others a new to my Paint•Stitch•Bead toolbox. Let’s take a look.
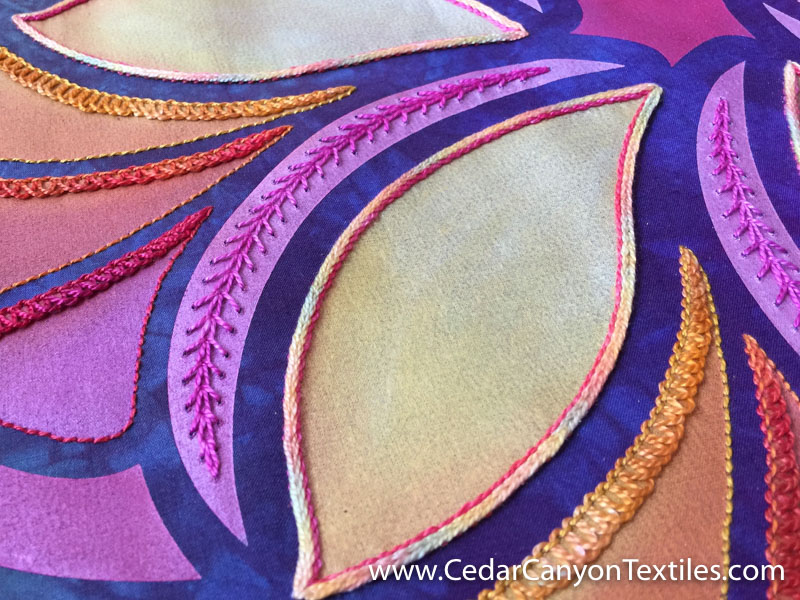
Beaded Wheatear Stitch
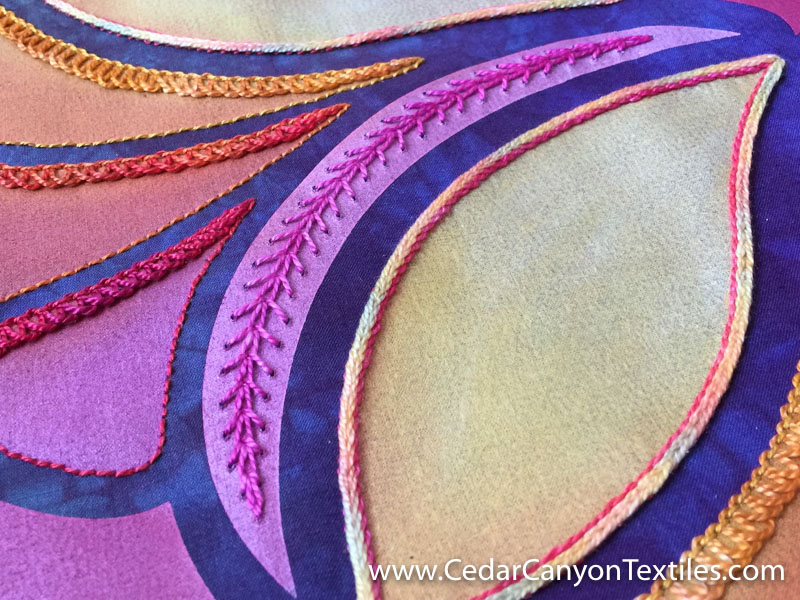
For the slender pink elements, I chose a Wheatear Stitch in a size 5 pearl cotton. (You can read more in this post.) I liked the look of the heavy thread, but I was a bit dismayed by the large holes in the paint.
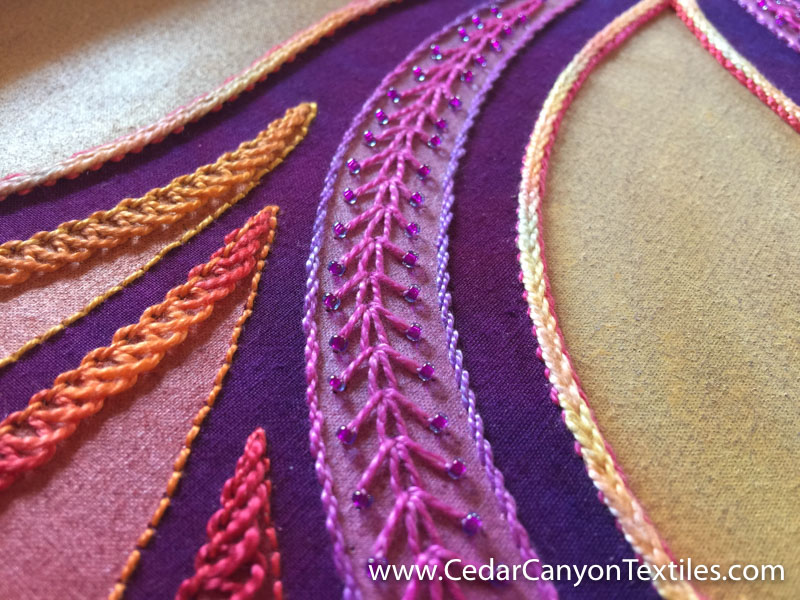
Thankfully, those holes just “disappeared” when covered with a small size 11/0 seed bead. Nothing fancy, just a short straight stitch with a single bead at the end of each stitch.
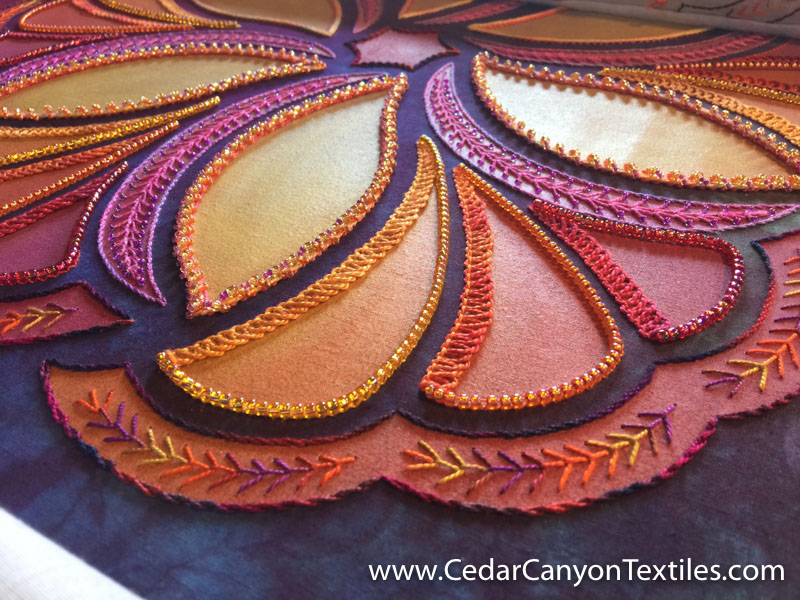
Beaded Backstitch
For the scalloped elements, I added a line of Backstitch around the edges. I worked a line of Pekinese stitch along one side of the elements, again with a heavy pearl cotton thread.

For the remaining edge, I chose Beaded Backstitch. This was one of the first beaded stitches that I worked with in the early days of my Paint•Stitch•Bead experiments.
You can read more about Beaded Backstitch here.
Beaded Heavy Chainstitch
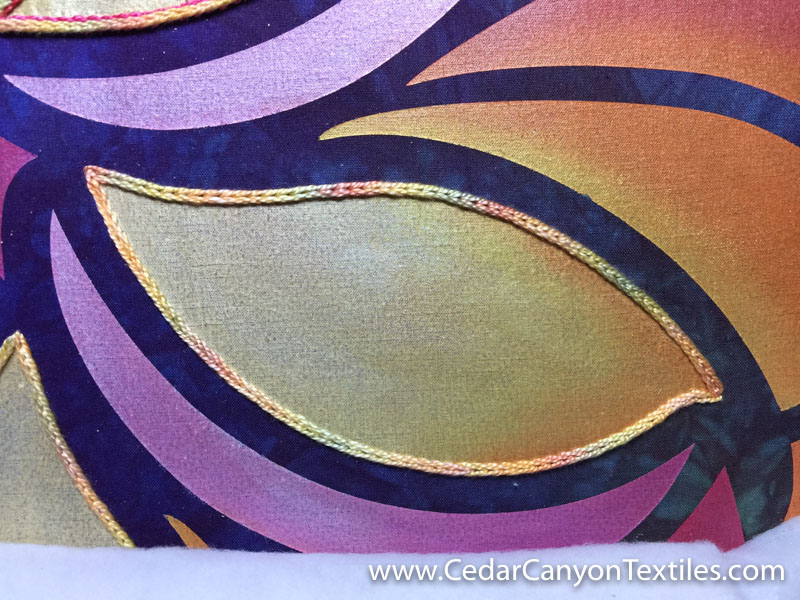
That left me with the large, pale yellow flower petals. At 6″ long, these are good sized shapes shapes, and they are the focal point of this stitched painting.
The Heavy Chainstitch looked great and thread was a good match. Unfortunately, it pretty much got lost due to a lack of contrast. Needless to say, that was not exactly what I had in mind.
Rather than starting over, I added a Pekinese-style wrap with high contrast thread. That was better, but it definitely needed some beading to liven things up.

For the petals, I chose a totally new approach. Rather than adding a line of beads along the side of the stitching, I combined two sizes of beads for a diagonal wrap.

As you can see, the beads added a lot of dimension as well as a pop of color. And once I got the hang of it, this beaded stitch worked up pretty fast.
You can see more options for adding beads to Heavy Chainstitch in this post.
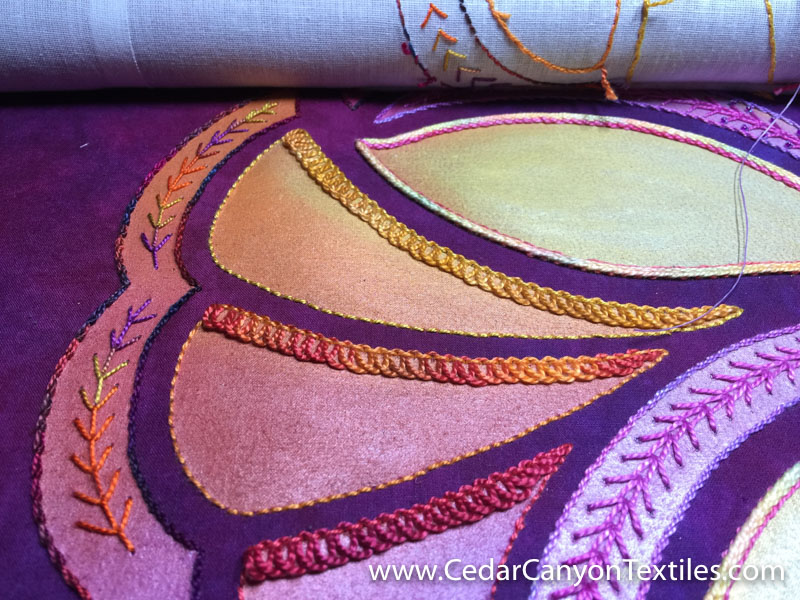
When I put it all together, I was thrilled with this combination of beautiful beaded stitches. There was plenty of contrast in color, and the textures looked great.
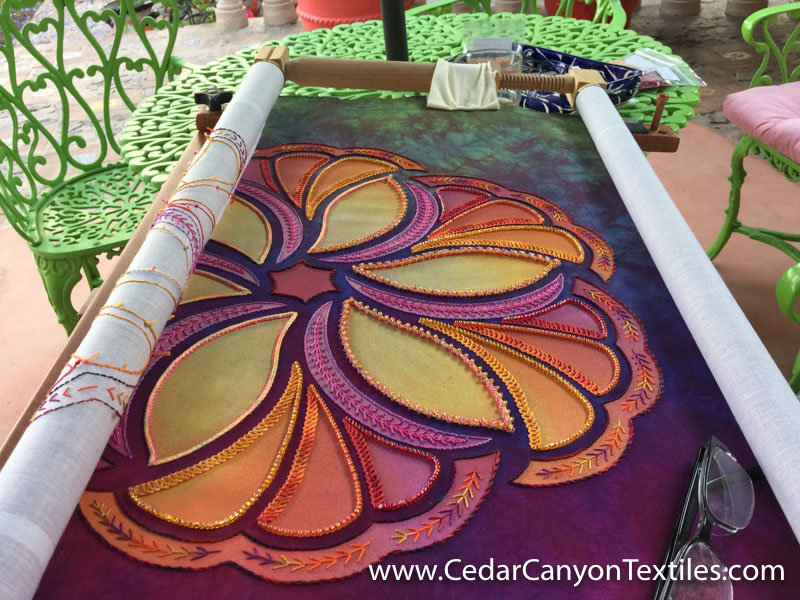
This photo was taken when half of the beading was complete. All I could do was smile!
I have enjoyed all of my Stitched Painting adventures, but working on this one was truly a happy labor of love. From start to finish, it has been a joyful experience. I am so blessed.
From Beaded Stitches to Framed Stitch Painting
Tomorrow is framing day, and the following day will be photography day. I promise to show you the final results soon!
Thanks for reading
Thanks for reading. Your attention is the greatest gift you can give to a writer. I appreciate the invitation to be a small part of your creative world and hope you enjoy this update on my Paint•Stitch•Bead adventures.
If you’d like to join the Paint•Stitch•Bead fun, click here to learn more.
Bravo for a job well done. Just so beautifully done, your consistency of stitches is outstanding; the bead combinations are also well thought out. CONGRATULATIONS.
I have been doing similar with beads plus embroider & paint for my great granddaughters dresses & wall hangings on a smaller scale but enjoy all you bring to the table for us to learn more, thank you for sharing so much with us.
Shashi Bondo
Thank you, Shashi. I’ve enjoyed all of my stitched painting adventures, but this one is very special, just pure joy.
Gorgeous work! Do you need to iron it before you mount it? And what is the mounting process? Finish the edges? Stretchers? Staple to a board? Etc.?
Oh yes, Nancy. Everything has to be pressed and prepped before the pieces are mounted. I press them by putting them face down on a heavy towel on my ironing board. Then mount them over a wooden frame. To see how they are mounted, go to How I Frame a Stitched Painting
Thank you Shelly…. It is a joy to see your latest piece of pure art! I thank God every time I pick up my “Paint-Stitch-Bead” project that you so generously share your photos and expertise. I so enjoy this type of project as it has absolutely endless possibilities.
Thank you, Janet. This type of work is right up your alley. Be sure to send me photos. I enjoy seeing your work.
Magnificent as always. Wow. I like how you show us what works and what you do to make stitches to show up better. Glad that you are getting your shots. I have had both now.
Gracias, Rebecca. Fpr me, this is one big, continuous experiment. I add something to the fabric, then see what needs to happen next. I’m never sure how a piece will progress. It works best when I allow it to unfold rather than having a set plan from the start.