Journal
Add Texture And Sparkle With Beaded Backstitch
[vc_row][vc_column][vc_column_text]
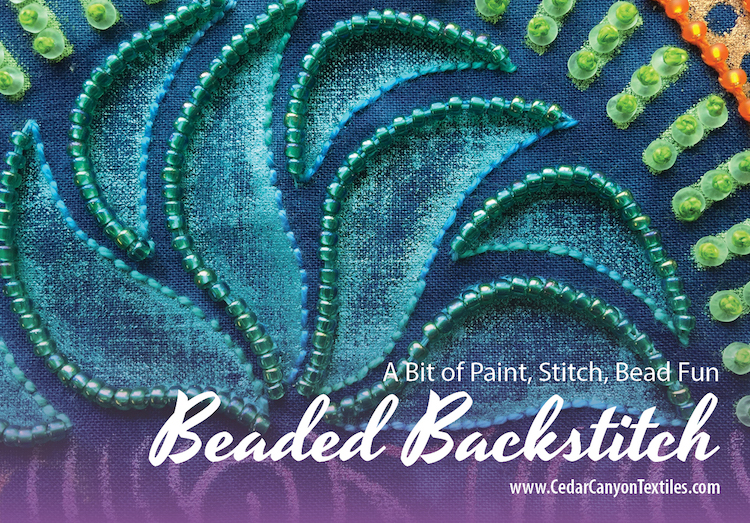
Paint plus stitch is an amazing combination. To add yet more texture, I decided to play with beads. Let’s take a look at what I call Beaded Backstitch.
[Tweet “Got small beads and heavy thread? See how you can make it work.”]
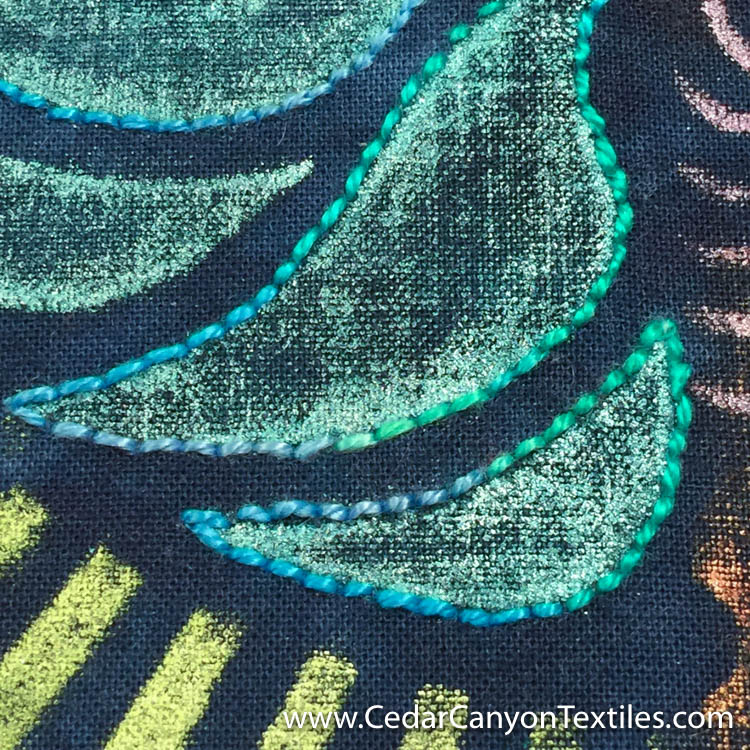
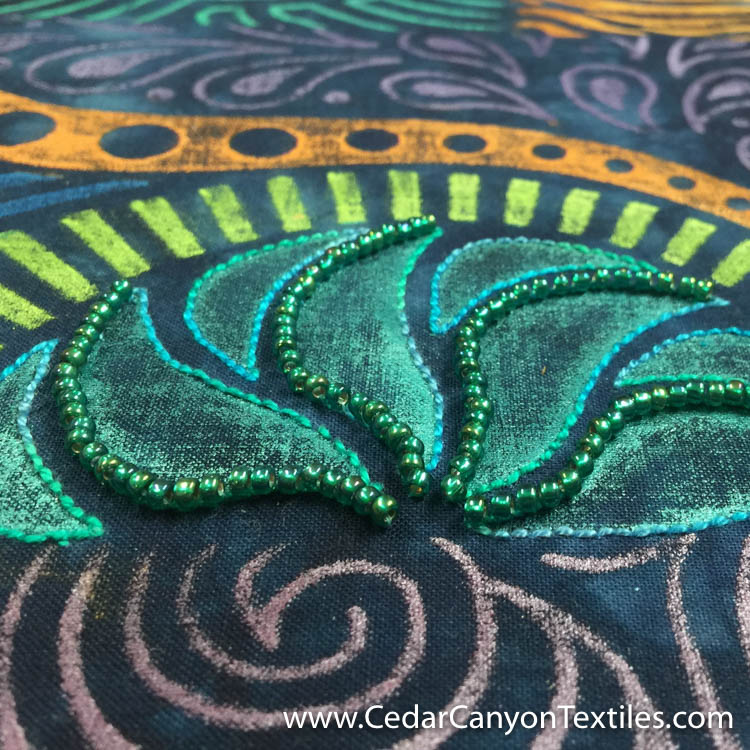
I don’t try to add beads while I’m stitching. The needles that work for pearl cotton are too large to go through my seed beads. (There may be a Perfect Needle out there somewhere, but it doesn’t live in my studio.) To get around this problem, I outlined the shapes with Backstitch first.
The beading kit I purchased a year or so ago has finally come in handy. I found bead thread in just the right color. I made a quick trip to the local bead store (a Dangerous Place!) and was ready to start.
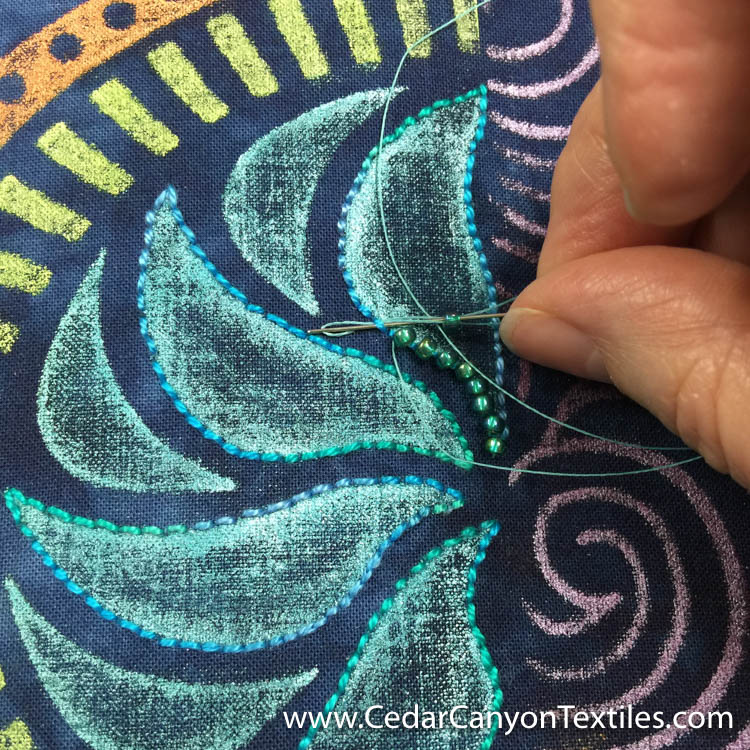
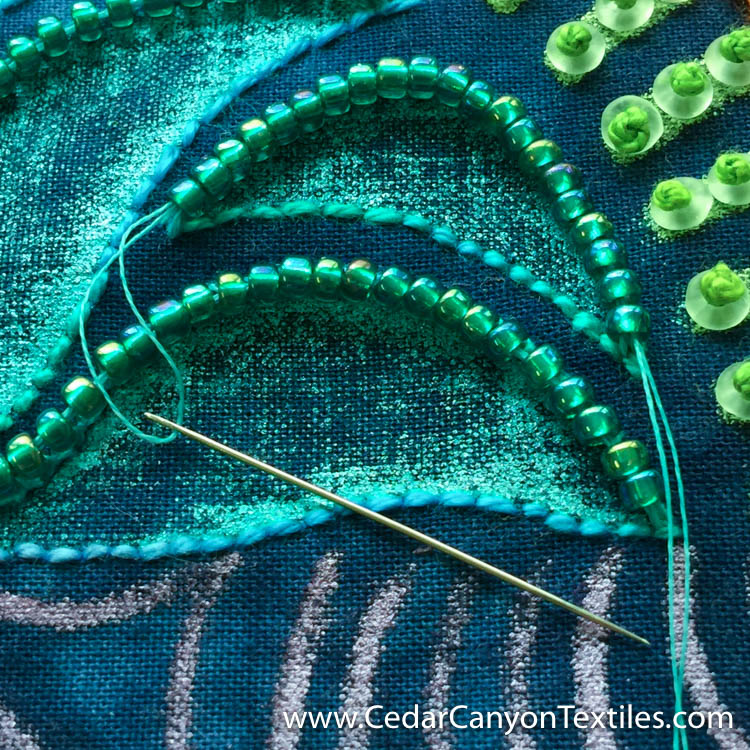
Instead of wrapping the backstitch with a second embroidery thread, I used Silamide beading thread and added a size 8 seed bead with every wrap.
I have no idea if a proper beading instructor would teach you to add beads this way, but it works for me! (Since I’m not a proper beading instructor, and I feel perfectly free to break any rule I don’t know about. I hope that’s okay with you!)
I paused before going too far to have a look. I liked the raised effect and decided it was a keeper.
The beaded lines were looking a bit wobbly, so I pondered how I might make the lines stay a bit straighter.
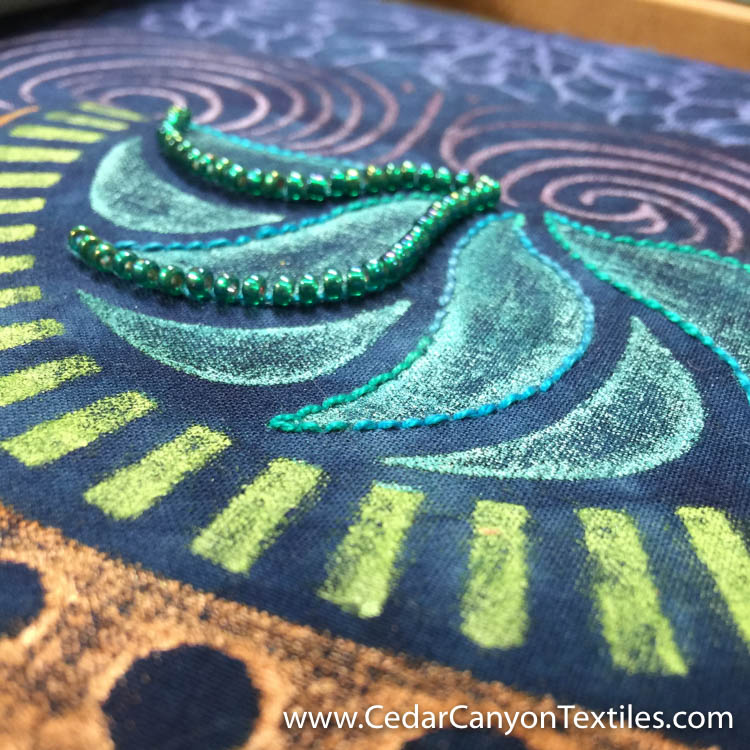
I settled on running a double-strand of Silamide from one end of the beads to the other, and securing the threads at both ends. (For good measure, I did this twice.)
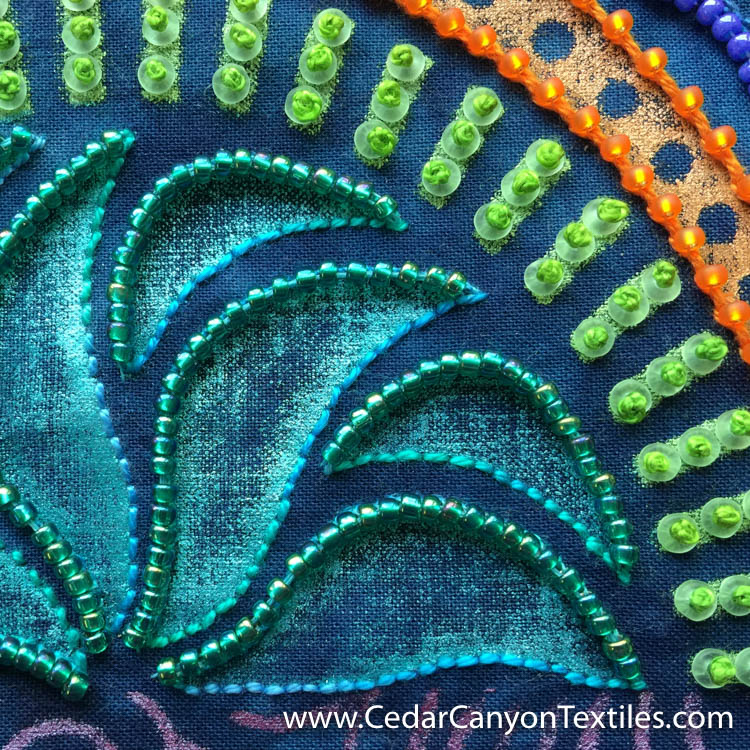
The results? Lovely curved lines of Beaded Backstitch, and not a bead out of place. Such fun!
[Tweet “Changing your mind is easy with Shelly’s Stitch-then-Bead method.”]
Stitch, Then Bead
There are several advantages to adding beads after the fact. The first advantage is logistical – I can use any size needle and thread for the embroidery without worrying about whether they will fit through the hole in the beads.
The second advantage is the ease of changing my mind. If I don’t like the beads, I simply snip the thread and pull them out – without removing the embroidery stitches. (And, I confess, I change my mind often. Especially when I’m off on a new adventure!)
I’ll share more in future posts. This is going to lots of fun!
Your Turn
Do you play with beads and embroidery? Do you add beads as you embroider — or add them after the fact? This is a new adventure for me. I’d love to hear your thoughts.
[/vc_column_text][/vc_column][/vc_row]



I love the effect you achieve by adding beads to your painted fabric. I have beaded skating costumes in the past and still have a supply of beads. Maybe now I can use some of them on my painted fabric! Thanks for sharing.
Thanks, Alice. By all means, bring on the bling!
I really like the look but don’t totally understand the double wrapping with the embroidery thread that you eliminated. Does this mean you just did a running stitch and filled in with the beading stitch?
Want to try it out for sure.
Hi LeeAnna, I substituted the Silamide and beads for a wrap with a second embroidery thread. I’m not actually stitching through the fabric with the beads, just dipping under each backstitch to secure the beads to the surface. It will probably make more sense if you give it a try.
Great look! I’m interested in the green French knots that are sitting on top of the beads to the right of the ones you are talking about in your demo. What type of needle were those done with? This is a GREAT look again. Your beading is taking this to a new high.
French knots coming to a post soon! Those beads have a big enough hole to use a small tapestry needle.
Beautiful!
I’ve got several colors of beads in extra small to highlight areas I’ve already stitched. I liked your cone shaped bead – what is that called?
How do I run the thread through a line of curved beads? Did you do anything special to keep the needle from piercing the threads the second time through?
Cone shape? Ask again, Kathy. My brain is not working this evening.
To run a needle through the curved line, run it through half a dozen beads, then pull the thread through. Then run the needle through the next half-dozen beads and pull through. Repeat until you get to the end. Then go to the back, secure the thread, come back to the front, and go back the other direction. Give it a whirl. It works pretty well.
Have you heard of serendipity? I just purchased a bead and embroidery book second hand off an on line auction site and now you post this blog. I will have to try paintstick print and bead at some stage in the future
Well, that’s just too cool, Carol! I’m having fun with the beads. It allows me to add even more texture, and that’s a very good thing. 🙂
Thanks, Shelly, I will!
I should have been more specific about the bead. I was referring to the ones under your french knot. They don’t look flat and shiny like a sequin.
Got it, Kathy. I checked the tube. They are called O Beads. The ones I chose for this particular project are pale green with a matte finish. I’ll tell you more about them in the next post.