
Journal
A Kraft-Tex Bag Corner Tutorial

[vc_row][vc_column][vc_column_text]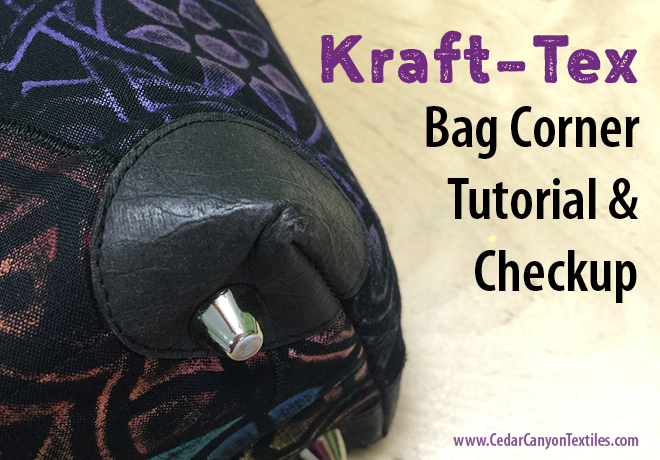
Almost 3 years ago, I made a lovely bag from some of my painted fabric. And, for the first time, I added pieces of Kraft-Tex to the corners to corners of the bag to protect them from wear and tear. (See Kaleidoscope Bag post here.)
Just last week, as I was posting this link for my Whole Cloth Collage students, I thought I should check to see exactly how those bag corners were holding up – and write a quick tutorial on how to add them to your bags.
[Tweet “Extend the life of your fabric bags and totes with Kraft-Tex Corners.”]
 First, let me say that I am dumbfounded at how well this worked out. I have been carrying this bag for over 2 ½ years now, and it hardly shows any wear on the bottom or corners.
Considering that most of my fabric bags have ended up looking like the one on the right, I am beyond happy with this nifty bag-making discovery. I hope it works equally well for you!
Add Kraft-Tex Corners To Your Next Bag
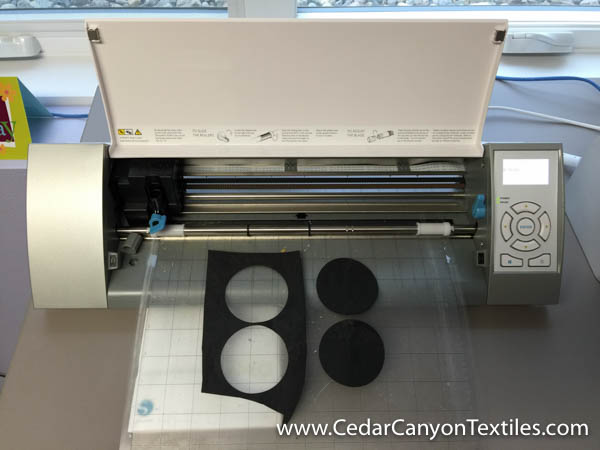
First, cut 4 circles from a piece of Kraft-Tex. I cut 2 ½ inch circles, but you could make them a bit larger if you wish. Kraft-Tex is easy to cut with a good pair of scissors – or you can cut it with one of the nifty cutting machines if you have one in your studio.
To cut Kraft-Tex with a Silhouette cutter, make the following adjustments. In Cut Settings, choose Chipboard as the Material Type. On the machine, set the blade to a depth of 10 as the Kraft-Tex is very thick.

If you have made your own handbags, you know that many patterns call for cutting a notch in the bag front and bag back at the lower corners to remove the bulk. I cut a similar corner from this piece of demo fabric.

Next, I located the center of the bag corner and marked lines for a quarter-inch seam allowance.
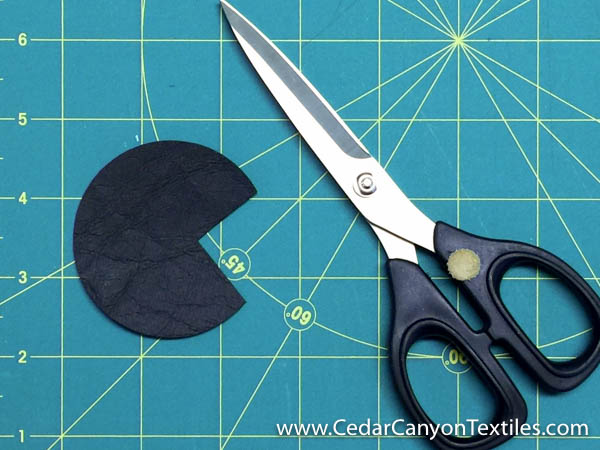
Then I cut along the seam allowance lines to make a little PacMan shape. (I know, I’m dating myself on that one…) It looks a bit odd, but it’s important to leave the extra material for the seam allowance.
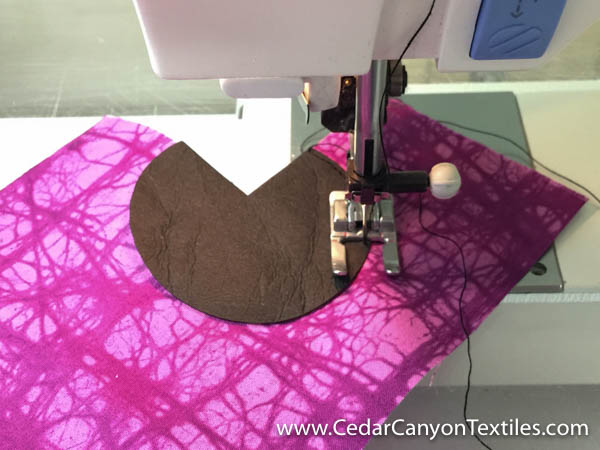
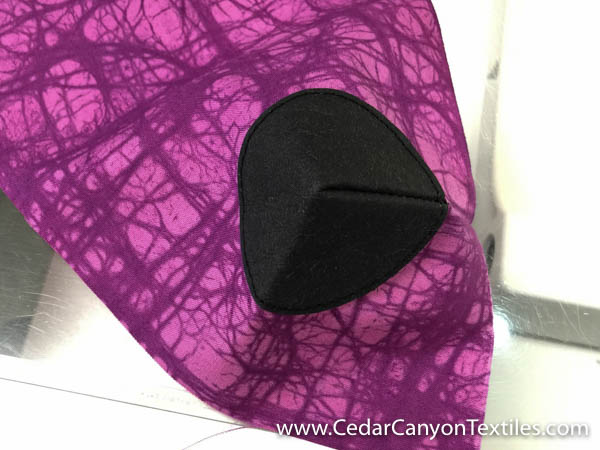
Next, I lined up the bag corner with the notch in the fabric and stitched close to the edge all the way around the Kraft-Tex.
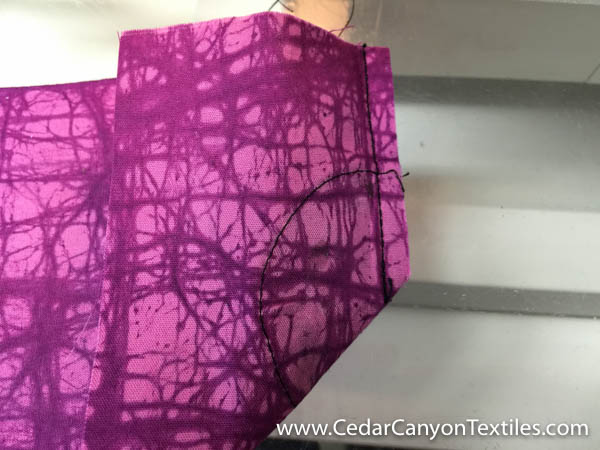
I folded the fabric Right Sides Together, and stitched a seam to simulate the corner seam for the bag.
When you open this up, it feels terribly stiff. No worries. Just (firmly) turn this Right Side Out as you normally do.
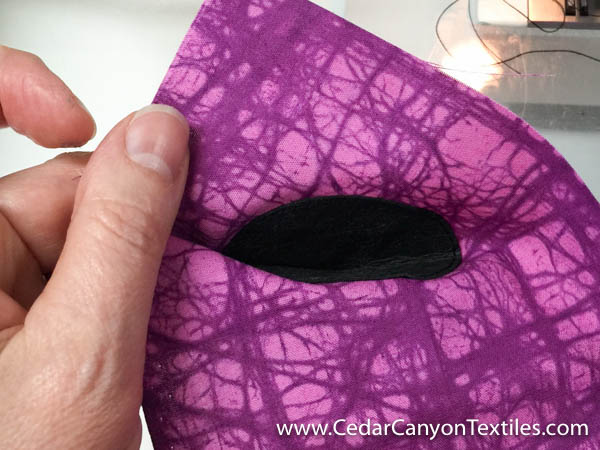
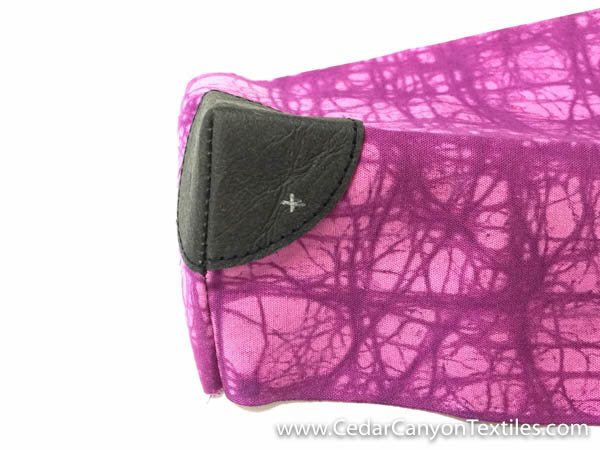
Pinch a fold in the Kraft-Tex where the bag would normally fold, and you’ve got a really tough corner that will wear like iron. No more trashed corners that make you give up your favorite bags!
Finally, if you want to add metal feet to the bottom of the bag, I suggest adding them near the edge of the Kraft-Tex bag corner rather than placing them on the fabric section of the bag.
The corners on the bottom of my Kaleidoscope bag look a bit squished around the metal feet, but there are no rips, no worn-through fabric – and no tears!
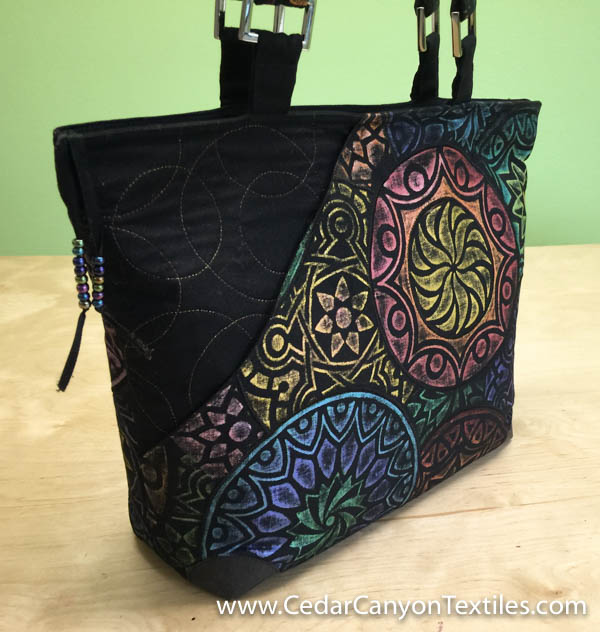
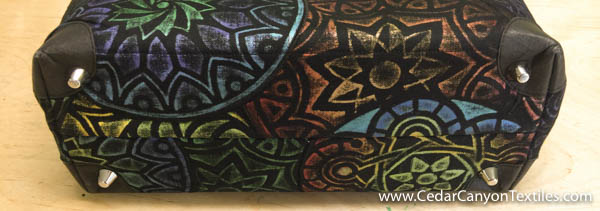
Here is a photo of my bag from earlier this week. It’s hard to believe I’ve been using this bag for the better part of three years. I’m thrilled that the Kraft-Tex Bag Corners have stood the test of time – and happy that I can pass this Fabric Art Magic tip along to you.
[Tweet “With Kraft-Tex Bag Corners, your handmade bags will last (almost) forever.”]
Resources
Kraft-Tex is a heavy leather-like paper product from C&T. You can find it in 4 colors (black, white, chocolate and natural) at Artistic Artifacts. (Look in the Paper Arts / Journals, Paper & Sketchbooks section or search on Kraft.)
I used the Candice Bag pattern from Joan Hawley over at Lazy Girl Designs for my bag. The inside pocket is large enough for a tablet or e-reader.
Your Turn
Do you have any “secret weapons” for protecting the corners of your bags? Please share! We’re always looking for ways to make our fabric art more durable.
[/vc_column_text][/vc_column][/vc_row]
I will definitely try this on the next bag I make. Thank you so much for the explanation on how to do the Kraft Tex pieces and for the tip on placing the feet.