
Journal
Make and Use a Quick Silhouette Vinyl Stitch Guide

In my stitched paintings, I often have long, narrow shapes to fill with embroidery. A few days ago, I had the almost brilliant idea to make a Silhouette Vinyl Stitch Guide.
So what makes it “almost” brilliant? Let’s just say I learned a few things along the way.
Create a Vinyl Stitch Guide

To start off, I opened the Silhouette Studio software that I used to create the design. I made a copy of the shape in question, punched a hole in the middle, and made enough copies for my stitched painting.
If you’re a Silhouette user, you can “punch a hole” in the middle of a shape using the Offset tool and a few clicks of your mouse. Here’s the quick sequence;
- Select the original shape
- Open the Offset panel, choose Internal Offset, and the amount of space you want around the edges of the shape
- Select the original shape and the new shape
- With both shapes selected, choose Object/Create a Compound Path
With the design ready, I zapped the file to my Silhouette Cameo for cutting. I love, love, love this machine! The ability to make stencils quickly and easily is a huge plus for making my art.
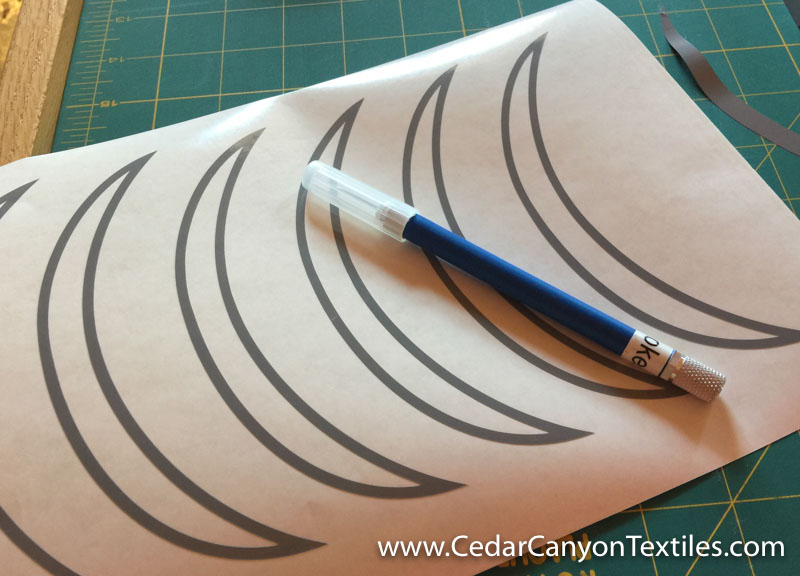
After the machine had done the cutting, I peeled up the excess vinyl to reveal my Silhouette Vinyl Stitch Guides. Pretty slick, right?
Place a Vinyl Stitch Guide
The next order of business was transferring the vinyl guides over to my fabric. I peeled one guide off the backing paper and attempted to place it by hand. That was not a good idea. Long, narrow bits of vinyl are very, very stretchy…
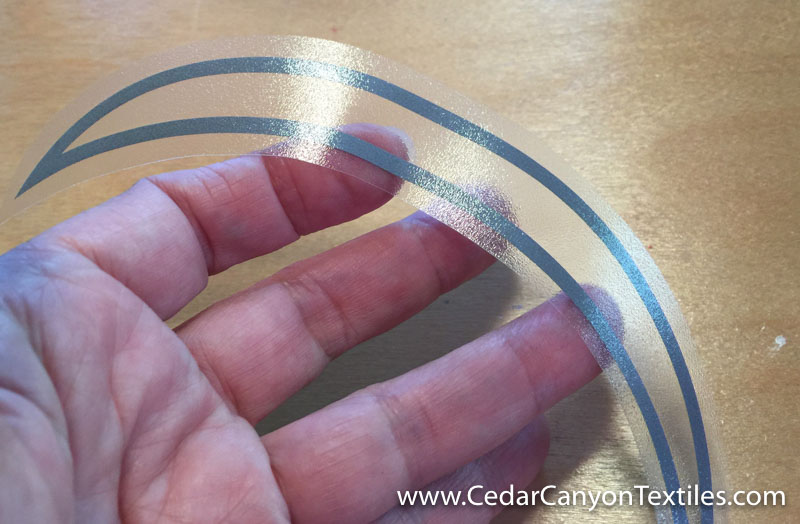
I reversed course and went back to my normal method of using transfer tape to lift the vinyl guide off the backing paper. The transfer tape keeps everything in place, so there is no distortion when the vinyl is placed on fabric.

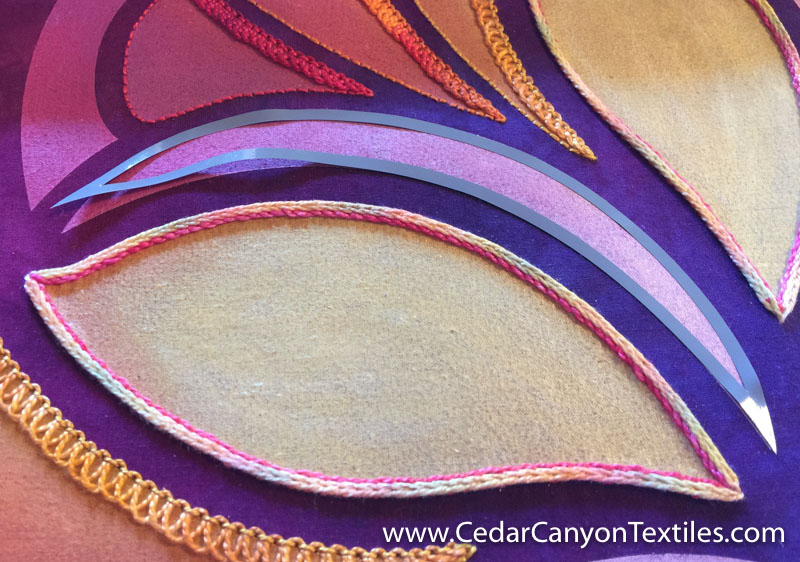
I lined up the vinyl guide with the painted shape as best I could, pressed it onto the fabric, and removed the transfer tape.
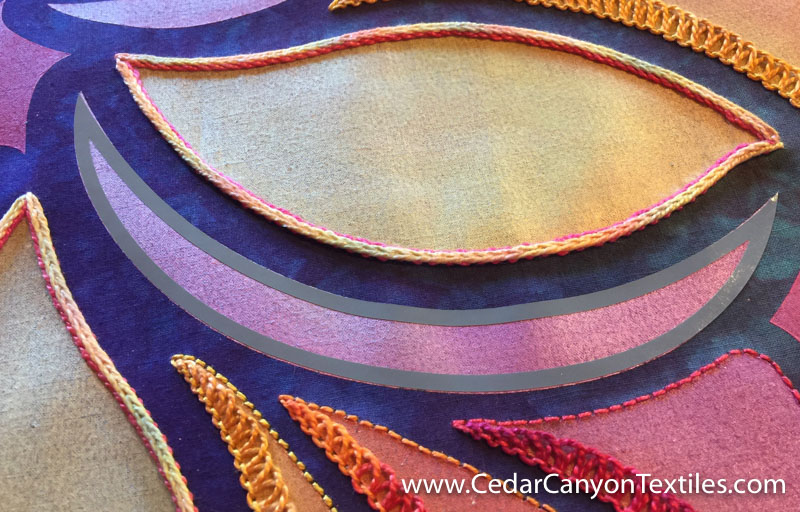
While I was doing this step, I discovered that the shapes in my design are distorted a bit when the fabric is stretched tight on my embroidery frame. But it wasn’t critical to have a perfect match, so I kept going.
Using a Vinyl Stitch Guide

The real test came with the stitching. I learned that my very sticky permanent vinyl is not sticky enough! While it sticks just fine to 99% of the fabric I attempt to use, it does not particularly like to stick to paint!
Or perhaps I should say it does not like to stick to fabric painted with Paintstik colors. Perhaps the vinyl will stick to other paints?

At any rate, using the guides turned into a bit of a chore. Each time my needle was slightly under the edge of the vinyl, the darn thing popped right off the fabric.
Did it work?

Did it work? Yes, after a fashion. My Silhouette Vinyl Stitch Guides helped me keep my stitches in line, but not without a bit of a fuss.

Was it a worthwhile experiment? Oh yes. The stitch guides didn’t stick as well as I had hoped. They were a bit fussy to use. But… they did the job well enough for me to fill the long, narrow shapes with Wheatear Stitch, keeping a nice, consistent border around the edges.
As they are, the stitch guides would work well for appliqué shapes – or in any case where they are applied directly to fabric.
As for vinyl guides on painted shapes? Let’s just say the idea could use another round of experiments. The trick will be to extend the vinyl beyond the painted shape and still be able to line them up properly. But that’s for another day.
Thanks for reading
Thanks for reading. Your attention is the greatest gift you can give to a writer. I appreciate the invitation to be a small part of your creative world and hope you enjoy this little tutorial.
Well, At least they worked well enough. Your designs are beautiful. I have experimented tons with the cameo, and other things as well. I have learned that while you might even have more failures than successes sometimes, BUT if you learned something, then it was not a total failure. I have come across other things that I would not have discovered otherwise.
Keep up the good work.
Thanks, Rebecca. I’m quite happy with my experiment. The idea worked well enough to be useful, just not quite as well as I had hoped. I expect the issue has to do with the fact that Paintstiks are oil paints rather than water-based paints. But… I have not tested that so I really don’t know.
That said, I love that we can do quick experiments like this with the Silhouette without spending loads of time or using a lot of materials. These tools allow us to fail quickly and frequently as we look for the shortcuts and tools that make our art and craft projects more enjoyable. All good! 😉
Shelly,
A great idea and experiment. And knowing you, there will be another iteration that improves it even more. I love the look of the stitching that is centred in the shape, rather than around the edges. Gives a totally different look. Fantastic work.
Thank you Sue. I agree that the space around the edge is more pleasing than filling the entire shape — at least in this instance. I added a simple stem stitch around the edges of the shape to finish them off. I’m chronically incapable of leaving unstitched edges around the shapes in my large pieces. Maybe in another lifetime I’ll be less fussy. 😉