
Journal
My Urban Computer Satchel is Finally Done!

At long last, my Urban Computer Satchel is complete! This is one project that turned into a marathon, and I’m thrilled to cross the finish line.
[Tweet “An off-road adventure with an Urban Computer Satchel is finally over.”]
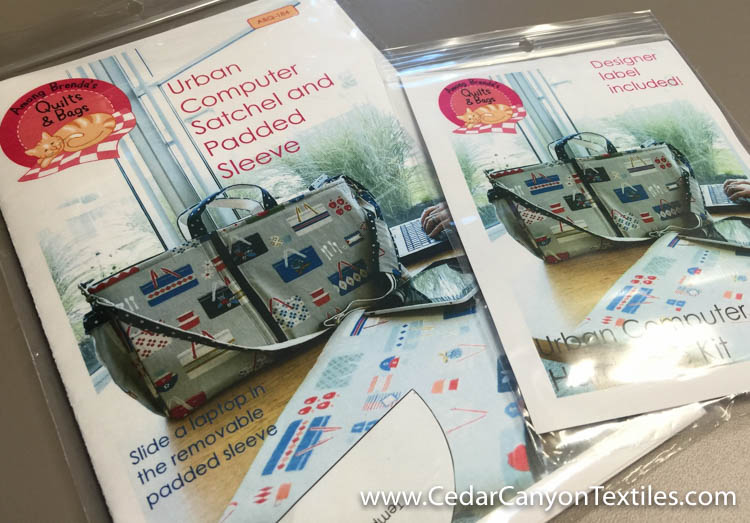
Urban Computer Satchel pattern (Among Brenda’s Quilts)
I used Brenda Miller’s Urban Computer Satchel pattern and her hardware kit. (I love, love, love being able to purchase a hardware kit! It saves tons of time and energy trying to find the right combination of bits and pieces in the correct size and finish.)
Before we go further, I have a confession… I STARTED with Brenda’s pattern, and quickly veered off course. So, this was a marathon of my making. I would have been done months ago had I simply followed the pattern.

Padded handles, Water Bottle Pocket and a Padded Shoulder strap are standard!
Brenda’s pattern has some wonderful features that will make this a Very Useful Travel Companion. The padded handles, an outside pocket for a water bottle and a padded slider for the shoulder strap show the thought that went into the design.
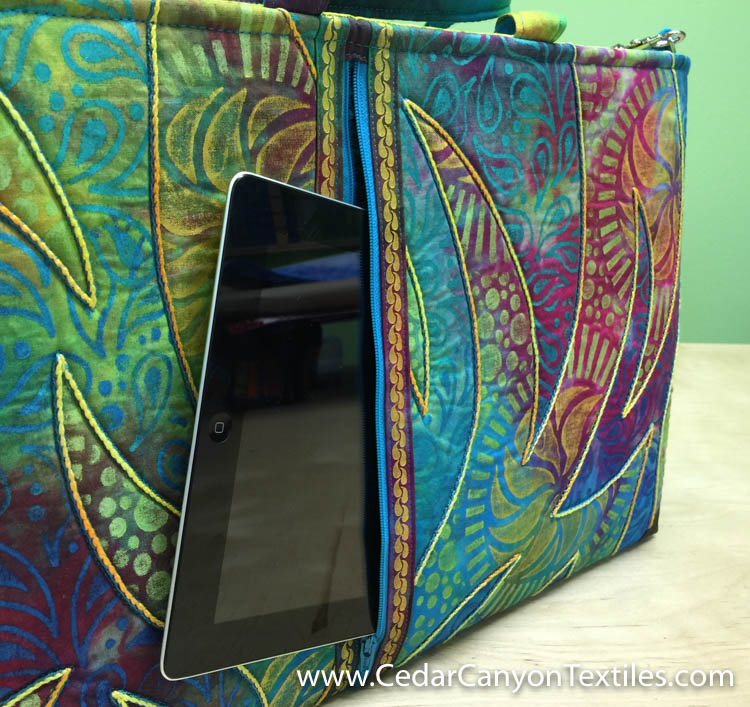
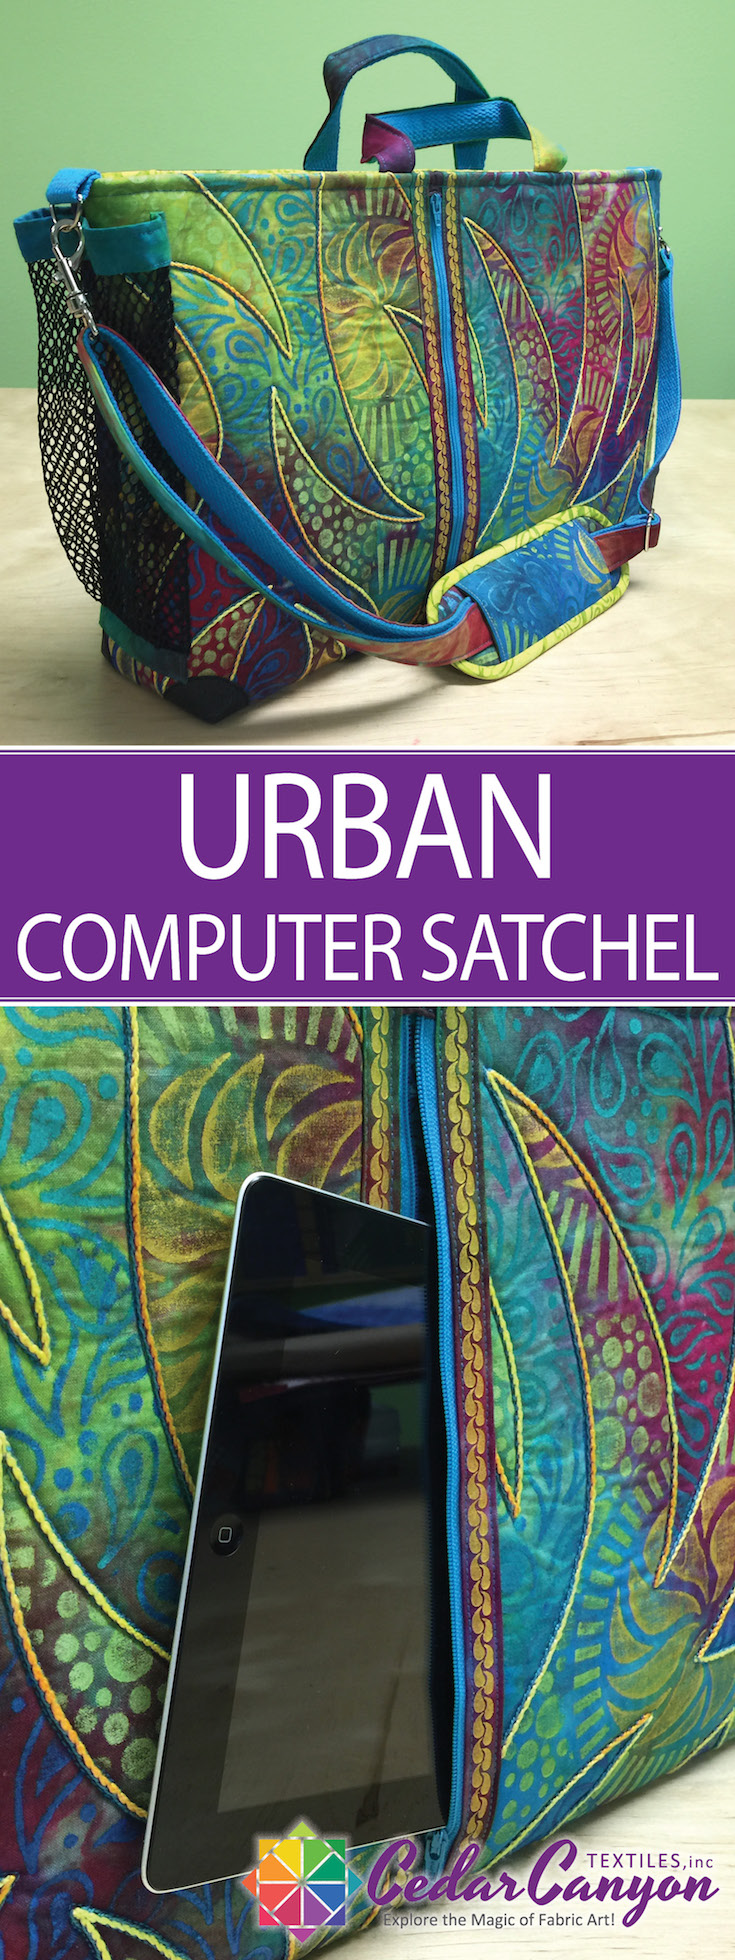
Padded iPad Sleeve for easy access
The front of the bag features a padded pocket for an iPad, and the back includes a strap to attach the bag to the handle of your suitcase. Nice!
But… here’s where I went off track…
I painted several panels of custom fabric as a sample for the Whole Cloth Collage class using a pair altered rubbing plates.
The painted fabric needed some help, so I added embroidery to calm the visual chaos.
Long story short, I wanted to use one of these panels for the front of the bag, and I wanted to add quilting for more texture. Suffice it to say that my desires and Brenda’s pattern were not exactly heading down the same path, and things got interesting in a hurry.
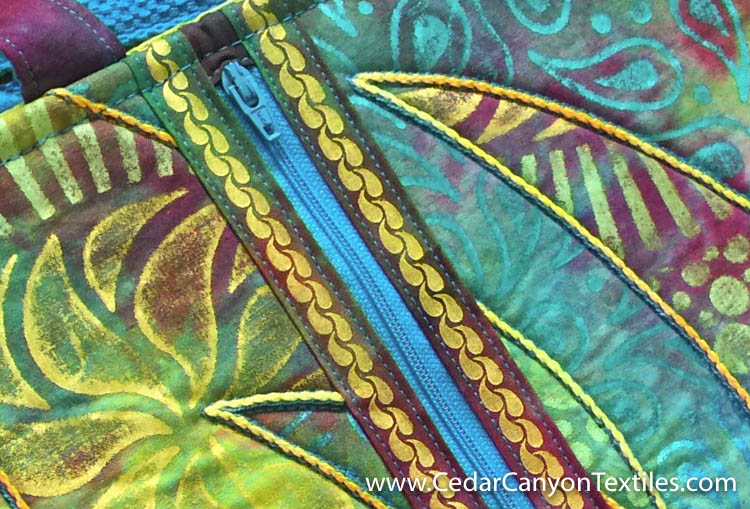
Zipper facings customized with custom vinyl stencil
Due to my detour, I needed facing strips on both sides of the zipper. The facing strips were boring. As in dreadfully boring. So… I cut some custom vinyl stencils with my Silhouette cutter and added a bit of bling with Paintstik colors. Ah, much better!
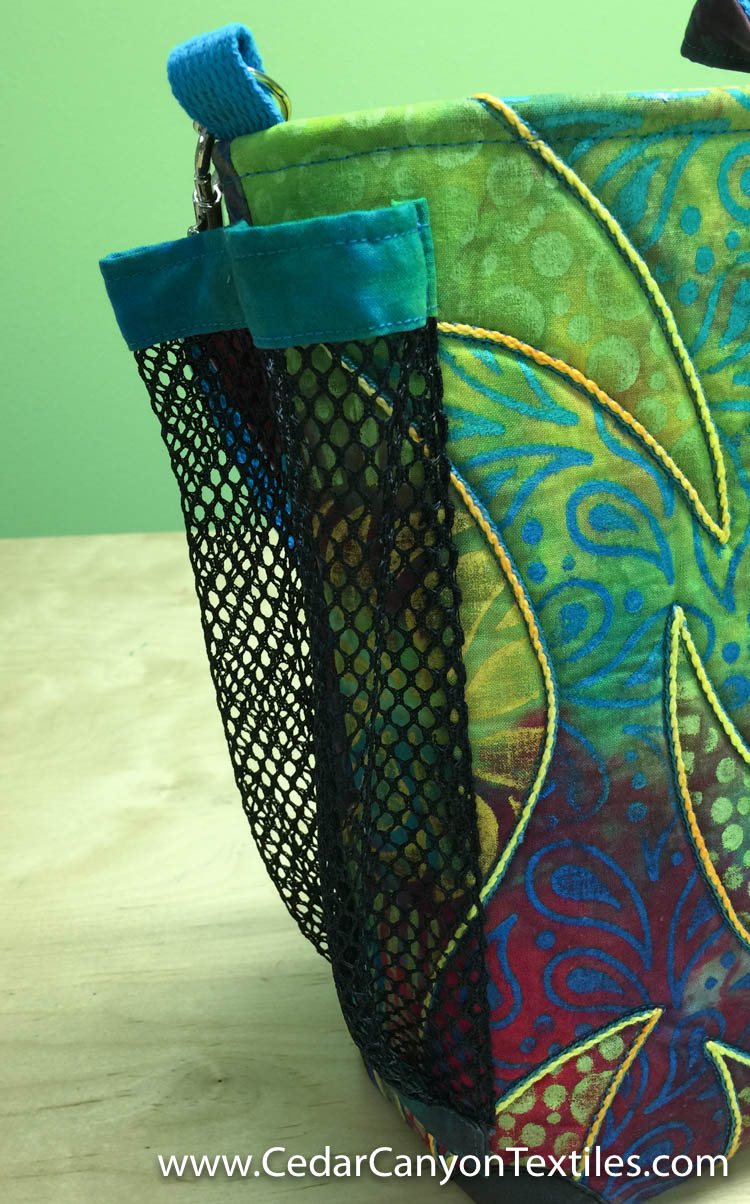
Side pocket from mesh instead of fabric
For some reason (that totally escapes me now), I thought I wanted a mesh pocket instead of fabric. Have you ever tried sewing with that stuff? Let’s just say I’m not sure I would take that detour again!
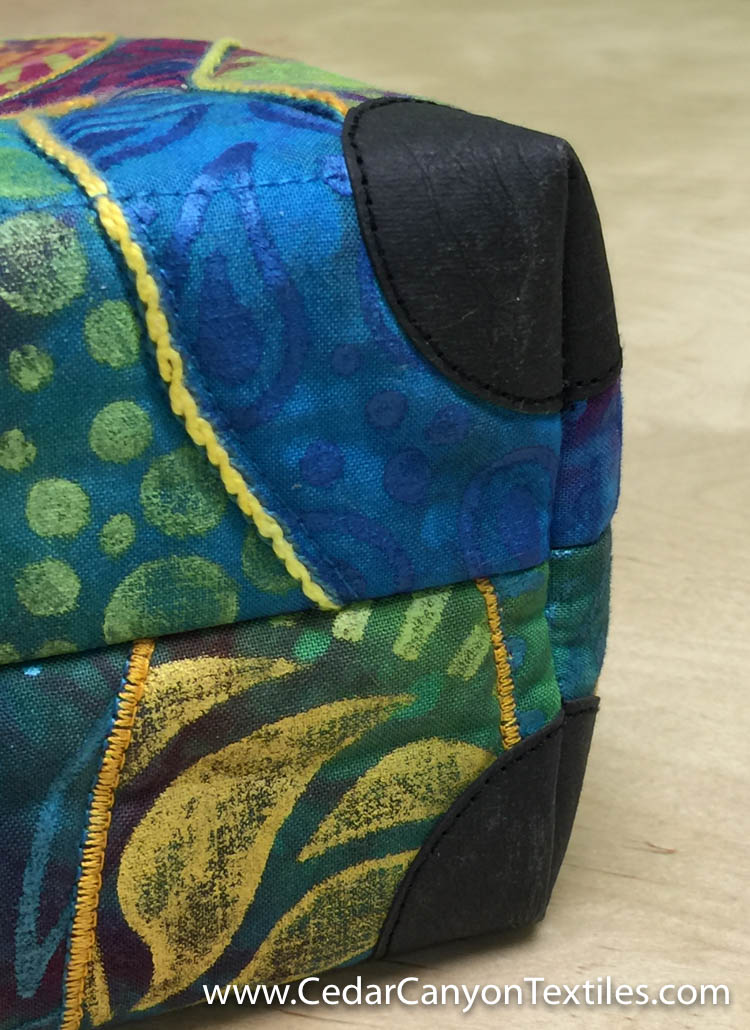
Kraft-Tex bag corners
Next, I added Kraft-Tex Corners. Given the size of the bag, I decided against bag feet. But these custom corner protectors will add years of life to this bag.
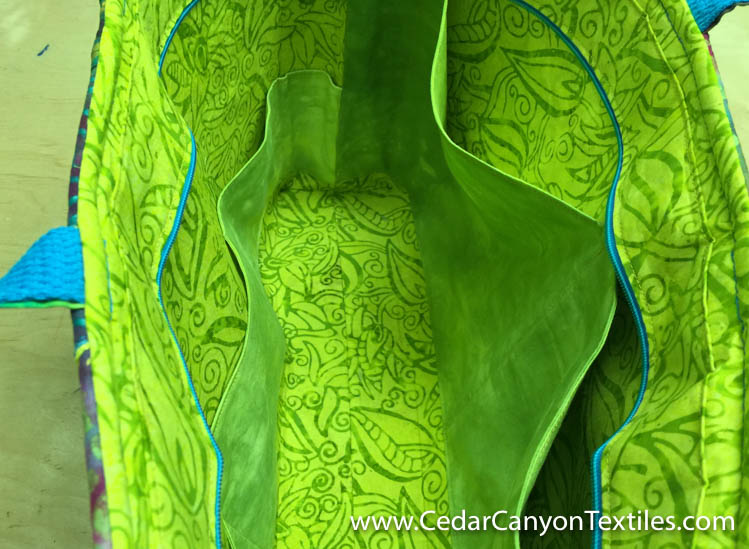
Pockets on both sides of the lining
The Urban Computer Satchel pattern calls for two large pockets on the back side of the bag. I’m a pocket nut, so I added smaller pockets to the front. You can never have Too Many Pockets — right?
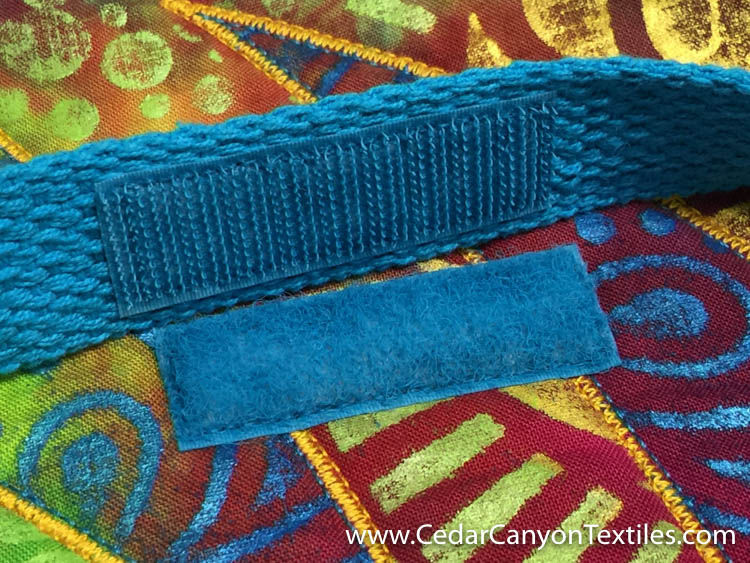
Custom Painted Velcro
My final detour was to whip up some Custom Color Velcro. I’ll show you how to make that in the next post.

My one-of-a-kind Urban Computer Satchel
And here she is in all her glory, a truly one-of-a-kind Urban Computer Satchel. Brenda Miller’s pattern, packed with thoughtful details, provided a great jumping off point for my overly long fabric art adventure.
The construction would have been a whole lot easier had I not insisted on using my custom painted and stitched fabric. But the result is lovely and I expect this bag to be a great travel companion for many years to come.
[Tweet “See how custom touches for a one-of-a-kind tote and years of adventures to come.”]
Resources
You can find the Urban Computer Satchel and Hardware kit at Among Brenda’s Quilts.
Links to related blog posts:
- For a change of pace, try some Rubbing Plate Surgery
- Calm the visual Chaos with a Simple Stitch Separator
- Add Zip to Zippers with Custom Vinyl Stencils
- A Kraft-Tex Bag Corner Tutorial
- Banish the blues with Custom Color Velcro (coming next week)

You can learn to paint custom fabric like this piece in my Whole Cloth Collage course. (This piece was part of Module 5 on two-layer masks.) Check out all the classes here.
Your Turn
Do you find yourself wandering off into uncharted territory with your projects? Do you question your sanity when your detour requires a major change in a pattern? ‘Fess up below… (I hate to think I’m the only crazy person who does this!)
You really inspire me to create! I want to do one too. Thank you.
You can do it, Liza Anne! Just follow the links to Among Brenda’s Quilts and she’ll get you off on a good start.
Absolutely fabulous, just like you!
Well thanks, Brenda Miller! It would not have started without your pattern as a jumping off point. Keep making those hardware kits. They’re fabulous!
Cannot wait on info on the custom color velcro as it looks FANTASTIC on the bag. This was really worth the wait and hope you find it useful for years to come. It will certainly be attractive that long!
Next week on the velcro, Bret. (Promise!) The bag really is beautiful — it was just a shame to see her in the UFO pile. 🙂
I am always doing that, even with my own designs! I often think that if I had had a plan or had followed the plan, the project would have been finished in half the time. Then again, the projects are more interesting when I go my own way.
It’s good to know I’m not the only crazy one taking off-road adventures! But hey — what’s life without an adventure here and there?
Your work is sooo beautiful!
Thanks Randi! I’m glad you enjoyed seeing it.
Your tote is beautiful! ….and so many great techniques; thank you for sharing them. Once I finish all my UFOs I want to try something similar.
Lisa
Thanks, Lisa. I was surprised by how many of things I teach wound up in this bag. Paintstik rubbings, stenciling, hand embroidery, custom cutting with Silhouette… it’s fun to see it come together in a single project.
Absolutely gorgeous ! Your color choices are so perfect; makes me wonder what you do/would do with clothing . . . shoes . . . ? Thank you so very much for a fascinating blog and for sharing your talents.
Hmmm… shoes could be fun! Honestly, Barbara… don’t get me started thinking about something new — yet!
What a beautiful bag. Makes me want to drop all my UFOs and get going. Looking forward to the opportunity of your class starting in January. Thank you for sharing your wonderful talents.
At your own risk, Dusty! It’s sure nice to get some of those UFOs off the list!
I love your creation and your creativity. I want one of those. How much is the pattern?
Well, you’ll have to make your own, Barbara. I’m not giving mine up!
Actually, your can Make this bag, or BUY one. Brenda is working with a small business in China (she has been there twice now) that makes up some of her bags for those people who don’t want to sew. Buy a bag or Buy the Pattern. You choose. 🙂