
Journal
Renegade Stenciling At A Birthday Bash

[vc_row][vc_column][vc_column_text]
As much as I love playing in my studio, I’m still a kid that likes to play with my friends. Last weekend, I headed down to the Twin Cities for a bit of Renegade Stenciling with my sister Sharon.

Shelly Stokes with sister Sharon Richardson
We’re celebrating Sharon’s 4th Bonus Year this week. Four years ago, she was diagnosed with a large brain tumor just as I was heading home from Spring Quilt Market in Kansas City. This picture is three years old now, but it’s still one of my favorites!

Drawing by Sharon Richardson
In the years since her surgery, Sharon’s art has changed. She spends a lot of time drawing, often creating fabulous complex shapes. (I could only hope to be blessed with such patience!) But the question is… how do we transfer these images to fabric without adding bunches of bridges that would muddy up the design?
When a traditional stencil won’t work – and we don’t want to make a silk screen, it’s time for some Renegade Stenciling!
[Tweet “When traditional stencils won’t work, try Renegade Stenciling!”]

Sharon’s drawing re-created in Silhouette Studio
Sharon has not dug into the Silhouette software just yet, so we did a bit of Tag-Team art. She sent photos of her designs and some measurements off to me. I created the designs in the Silhouette Studio software, and sent them back. (What did we do without email?)
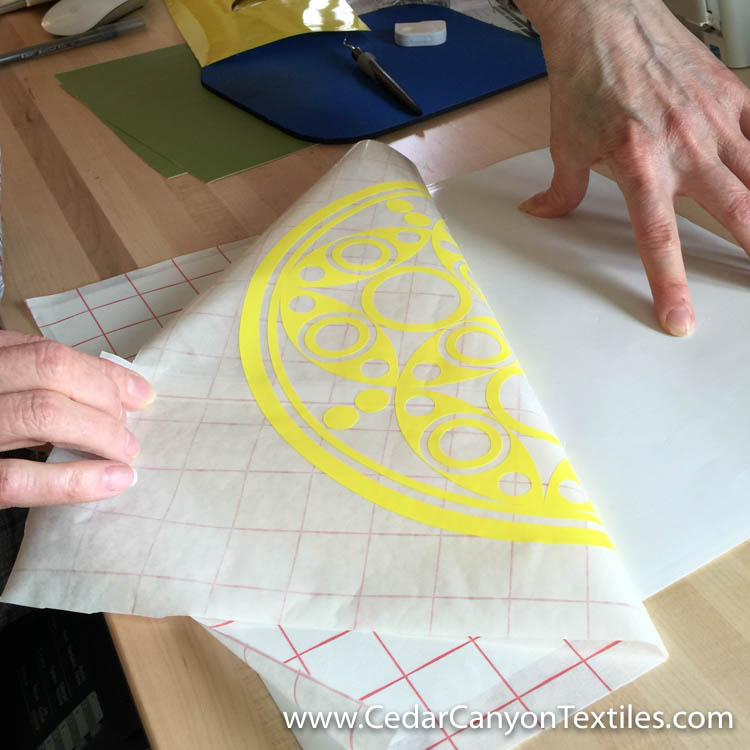
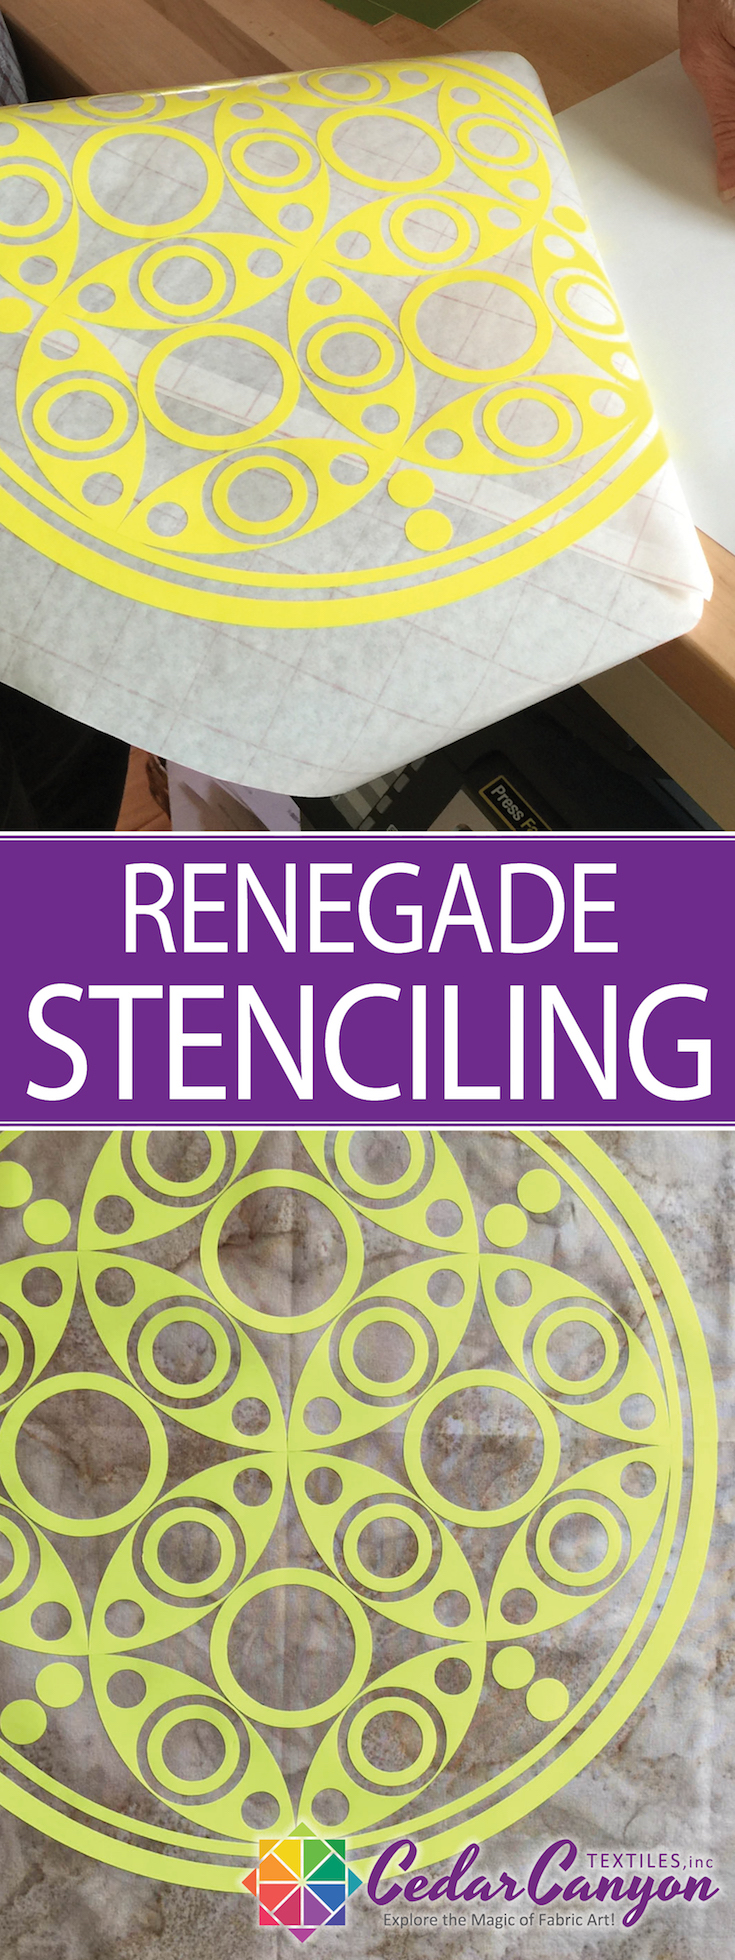
Removing the “renegade” stencil from the backing paper
Sharon purchased her Silhouette Cameo a while back, and we gave it a good workout during my visit. One thing was really obvious once we started cutting vinyl. The cutting head on her machine has a lot more downward force than mine and we had to make some sizeable adjustments in the cut settings.
Once the cut settings were adjusted (and saved), we cut two copies of her circular designs and “weeded” the excess vinyl to produce a positive version and a negative version. In this photo, she is peeling one of the stencils off the backing paper with transfer paper.
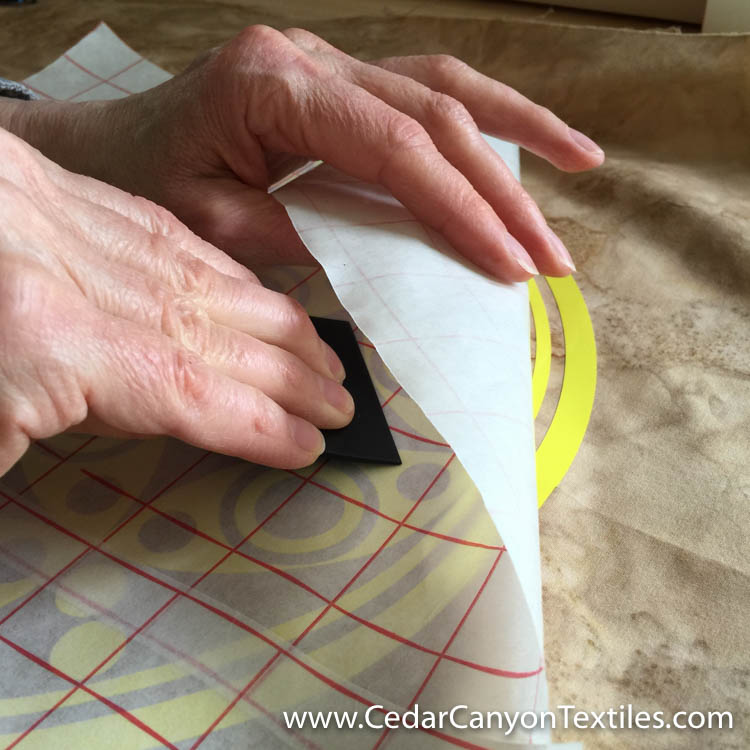
Transferring the “renegade” stencil to fabric
Next, Sharon used her handy-dandy squeegee to press the stencil onto the fabric so she could peel off the transfer paper. It’s a bit tricky when you are working with lots of small pieces, but it works!
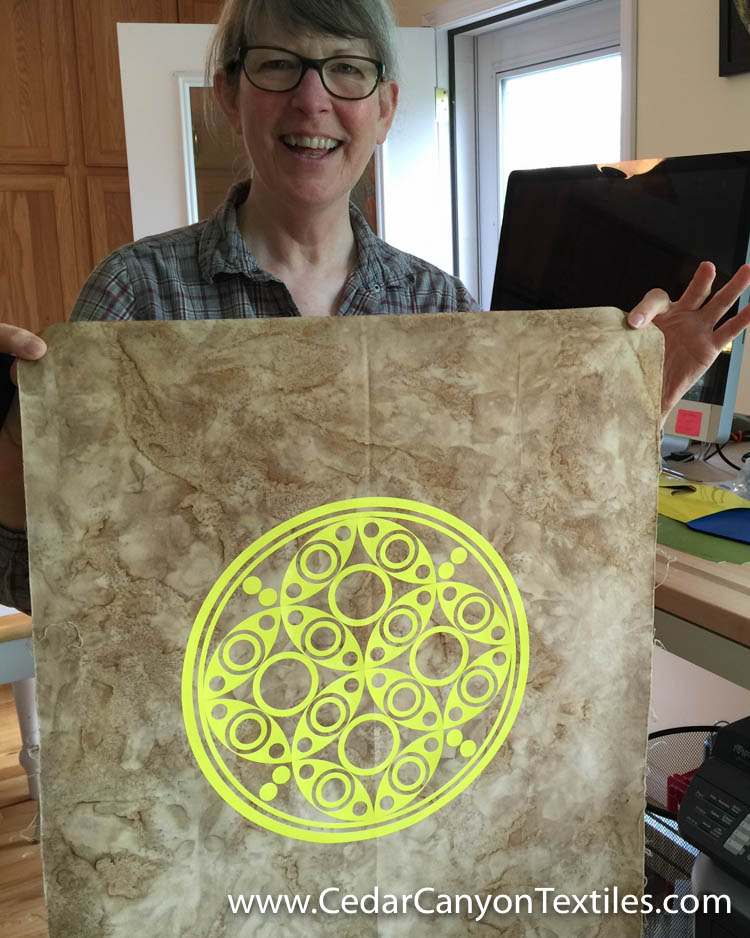
Version 1 of Sharon’s stencil
Here’s Sharon with one version of the design.
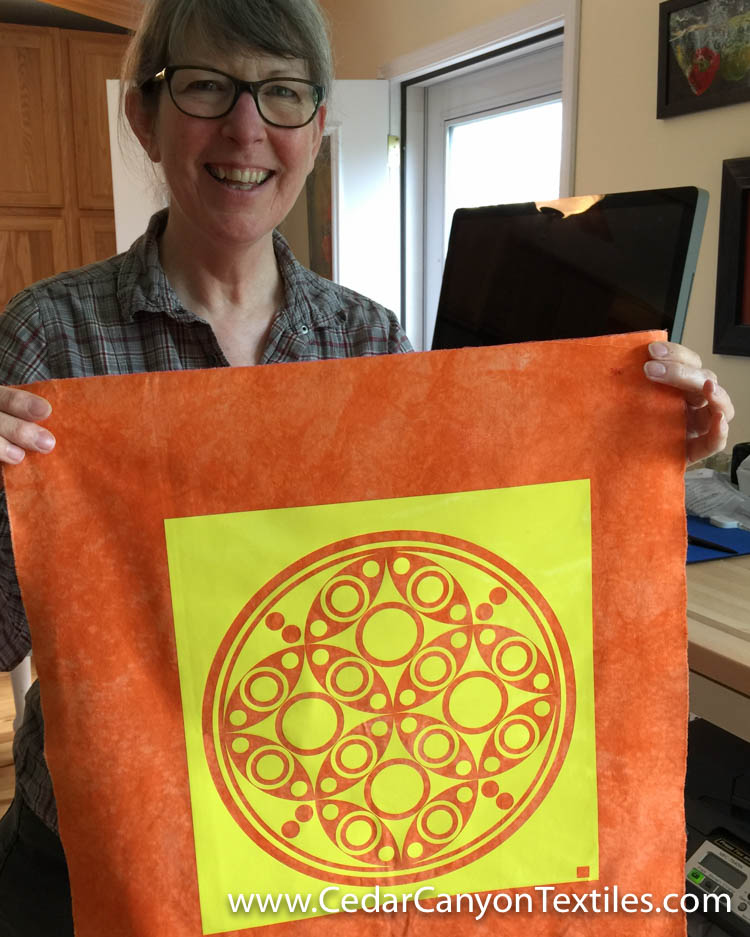
Version 2 of Sharon’s stencil
And here she is with the second version. A few hours work and she’s ready to paint!
It was great fun to celebrate Sharon’s Bonus Birthday than a good day playing with fabric art. We’ve been blessed to have four great years that would not have been possible without the miracles of modern medicine. She’s half way through a second round of chemo treatments (that appear to be working fine) and we’re hoping for many Bonus Birthdays in the years to come.
[Tweet “Cut vinyl stencils with a Silhouette Cameo for Renegade Stenciling.”]
Renegade Stenciling with Vinyl – Pros and Cons
Now that you’ve heard about our play day, let’s chat a bit more about vinyl stencils. As usual, there are both pros and cons to working with vinyl.
First, the pros. Here are four reasons to love renegade (vinyl) stencils:
- Designs can be extremely detailed.
- There is no need to add bridges to hold sections of the design together.
- Vinyl is inexpensive when purchased in a moderate quantity
(about $1.30 per yard in a 25-yard roll). - Using a Silhouette Cameo, vinyl stencils can be 12” wide and up to 10 feet long!
Of course, there are a couple of negatives to go with the good points:
- Vinyl is not an earth-friendly product.
- Vinyl stencils are single-use-only when applied to fabric. (They stretch and tear when you peel them off the fabric.)
- Using a Silhouette Cameo, the width is limited to 12 inches.
Renegade Stenciling (with vinyl stencils) is not a perfect solution, but it’s pretty darn useful for some projects. It’s not something I do every day, but I’m happy to have this technique in my toolbox when I need it.
Are You A Renegade?
Renegade Stenciling is just one of the topics we’ll be covering in the Silhouette for Fabric Art online course. If you have a Silhouette Cameo that needs a good workout, I hope you’ll join us in June!
In the meantime, I’d like to hear your ideas. Do you have a favorite way to transfer complex designs to fabric? Are you using stencils, screen printing, or something else? Don’t be shy. Add your thoughts with a comment below.
[/vc_column_text][/vc_column][/vc_row]
What a fantastic way to spend a special birthday!
I have stated interest in the silhouette course but in your previous blog I think you called it silhouette 101? Is this the same as the silhouette cameo which seems to be the model here in the UK. I want to buy one if I’m going to do the course but need to check its the correct model.
May there be many more birthdays!
Thanks, Liz. It was a wonderful day.
The Silhouette course is the same, I’m just finalizing the name and decided not to call it 101. The Silhouette Cameo machine is the same everywhere. I have an older machine (buttons instead of the touch screen on the new model), but they work the same. If you are purchasing now, get the latest model. See you in class!
Hi, Shelly
It sounds like your Silhouette for Fabric Art stenciling course would also be perfect for ceramic artists who use stencils to decorate the surfaces of their work. What do you think?
Cheers,
Jeanine
Yes, Jeanine. We’ll be covering stencils from top to bottom, along with a few other topics. You may prefer different materials for your stencils, but the concepts of creating your designs and turning them into stencils will be very much the same.
I had a really good time with Shelly when she visited me and my Silhouette a few weeks back. I’m finally getting back to get some of this worked on with a bit of Paint Stiks that I have from Shelly in the past. Fun, fun, fun!! — Sharon, Shelly’s sister.
It really was a good day. I can’t wait to see how your designs look in paint. Have fun — when you’re ready. ?