Journal
Design Magic in Chapala: From Fountain Tiles to Fabric

Design Magic is the title of a book that I wrote in 2010. It’s a methodology for creating a design using a square of paper, turning the design into a pair of positive and negative (equal and opposite) stencils, and adding the pattern to fabric with Shiva Artist’s Paintstiks.
The process described in the book involves cutting designs and stencils by hand from paper. And that, of course, makes it important to avoid overly fussy or frilly designs.
[Tweet “Use your Silhouette Cameo and Design Magic to create fabulous fabric.”]

Tile from fountain at QQ Inn in Chapala
Fast forward six years, and I now have a Silhouette Cameo cutting machine and Renegade Stencils in my toolbox. Do I really need to avoid fussy designs? Let’s just say it was time to push the boundaries and see what would happen.
On my first day in Chapala, this tile in the fountain outside my room caught my eye. In spite of the complexity, I set out to capture the design and turn it into a Design Magic repeating pattern.

Tile design captured in Silhouette Studio software
I’ll be the first to admit that this design is much too delicate and fussy to cut from paper. Instead of tracing the design by hand, I dragged the photo into Silhouette Studio and used the drawing tools to capture the design.

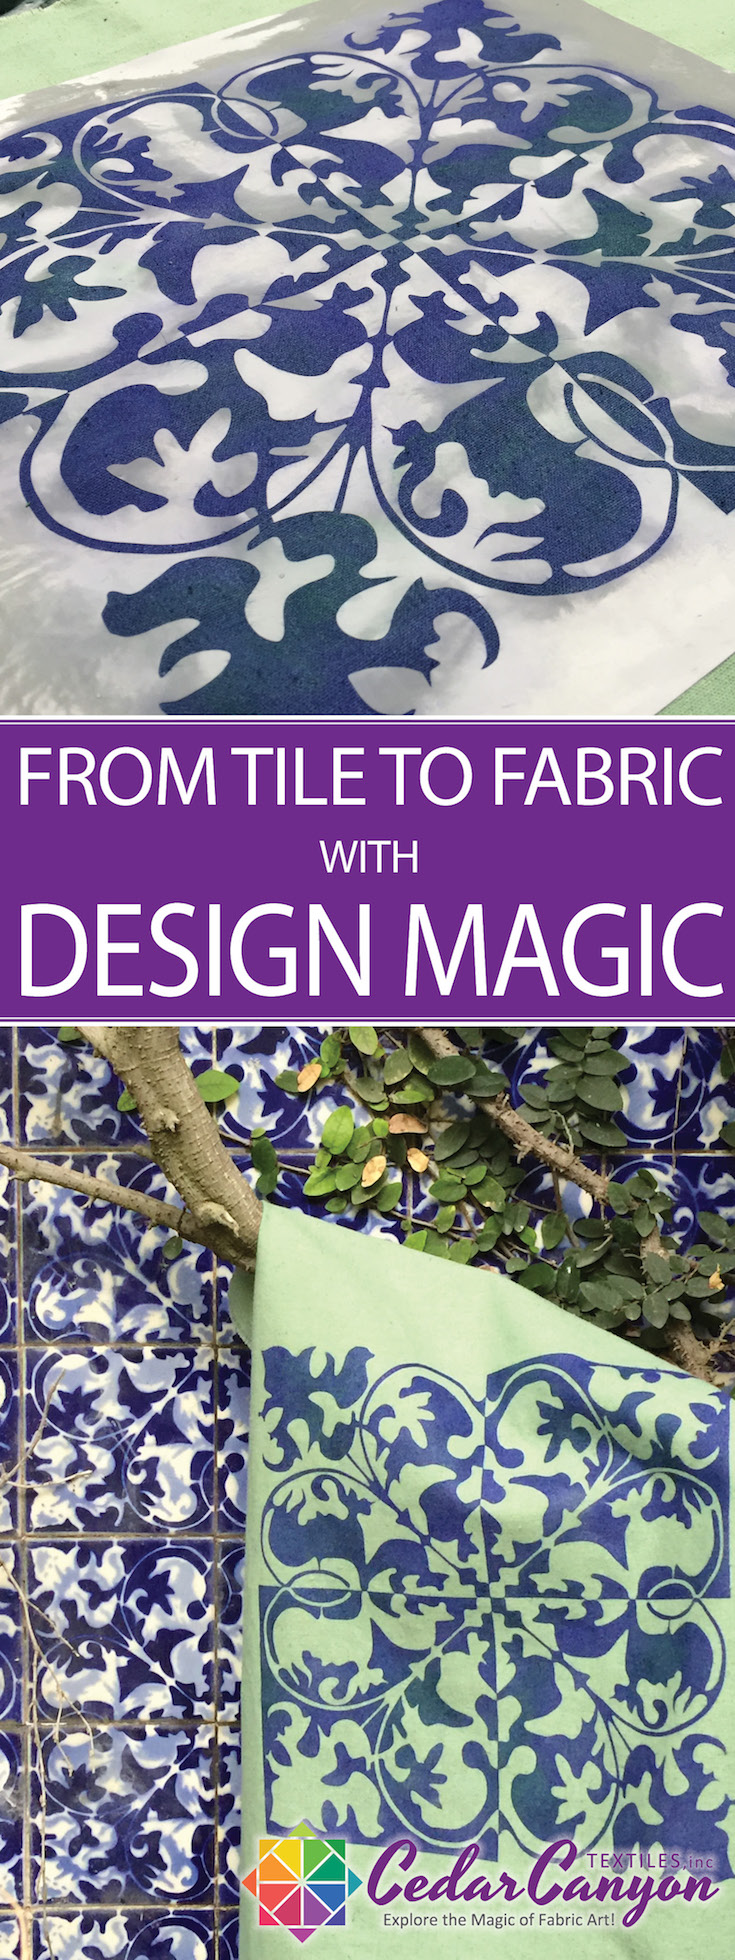
Tile design transformed into Design Magic positive/negative repeating pattern
After a bit of editing, I created the negative version of the design and turned the pair of designs into a repeating Design Magic pattern. I love the interplay of the positive and negative versions of the designs.

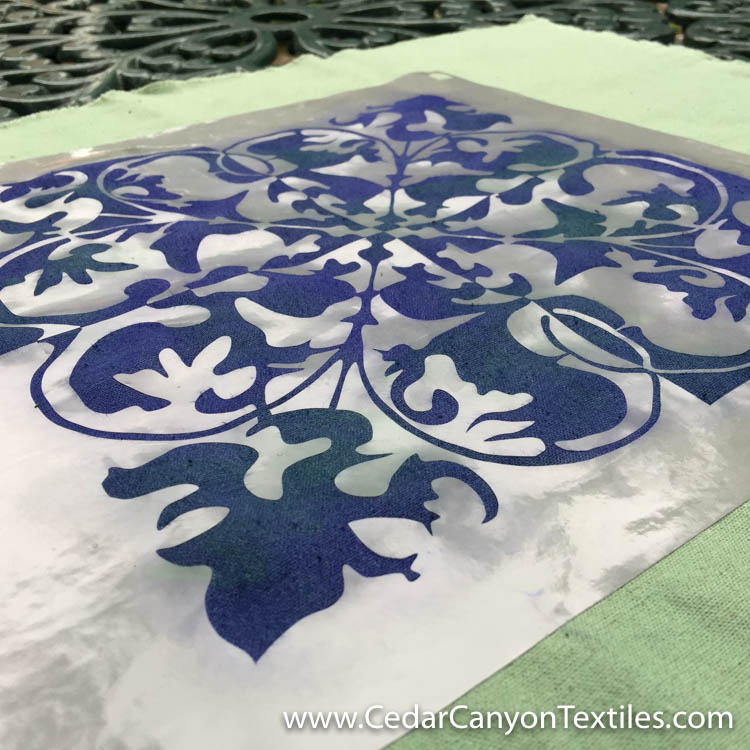
Renegade Stencil cut with Silhouette Cameo
As I mentioned, this design is Much Too Fussy to cut by hand. There is no way on God’s green earth that I would have even thought about tackling this design without the help for my Silhouette Cameo cutting machine.
But that’s the beauty of technology. I fed a sheet of permanent (651) adhesive-backed vinyl into the Cameo, pushed the GO button, and wandered over to the kitchen to make a cup of tea. After a bit of weeding, my Renegade Stencil was ready to go!
Oh, by the way… a Renegade Stencil is my signature name for stencils cut from adhesive backed vinyl. They allow you to break a bunch of rules, and to transfer almost any design fabric! You can learn to make Renegade Stencils and more in the Silhouette for Fabric Art course.
Color added with Shiva Artist’s Paintstiks and a stencil brush
After transferring the stencil to my fabric, I added color with Shiva Artist’s Paintstiks. For this design, I didn’t want a heavy opaque image, so I applied the paint with a brush.

Painted fabric along side the fountain tiles
With the success of this experiment, I’m falling in love with Design Magic all over again. As much as I enjoyed cutting the designs and stencils by hand, the Silhouette Cameo and Renegade Stencils open up an entire new world of design possibilities. I still believe that distilling a design down into the simplest form possible is a worthy goal, but it’s great fun to tackle a complex or “fussy” design with a bit of help from a wonderful machine.
[Tweet “Renegade Stencils make it easy to add complex designs to fabric.”]
Resources
You can purchase a copy of Design Magic from the Online Store. (Check to see if the Design Magic Special offers are still available!)
Stay tuned for more on Design Magic. It will be the topic of an all new Online Course beginning in mid-January.
[maxbutton id=”8″]
Your Turn
Do you have a favorite method for getting ideas out of your head and onto fabric? Do you use technology to capture the designs and create fabric art tools? Leave a comment below. I’d love to hear your stories.